

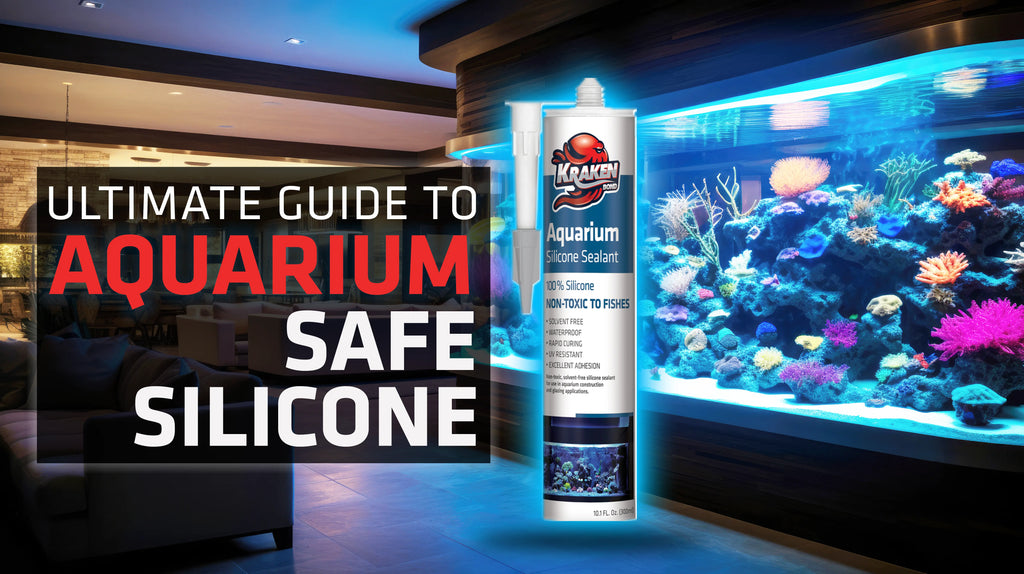
Ultimate Guide to Aquarium Safe Silicone
Choosing the right aquarium safe silicone is an essential part of aquarium maintenance that is often overlooked. This post will guide you on how to select a suitable material, apply the sealant, and produce a smooth finish. With the comprehensive guidelines provided in this post, you will be able to seal like a pro. This step-by-step guide sets you on the right path to your first aquarium maintenance.
What is Aquarium Safe Silicone?
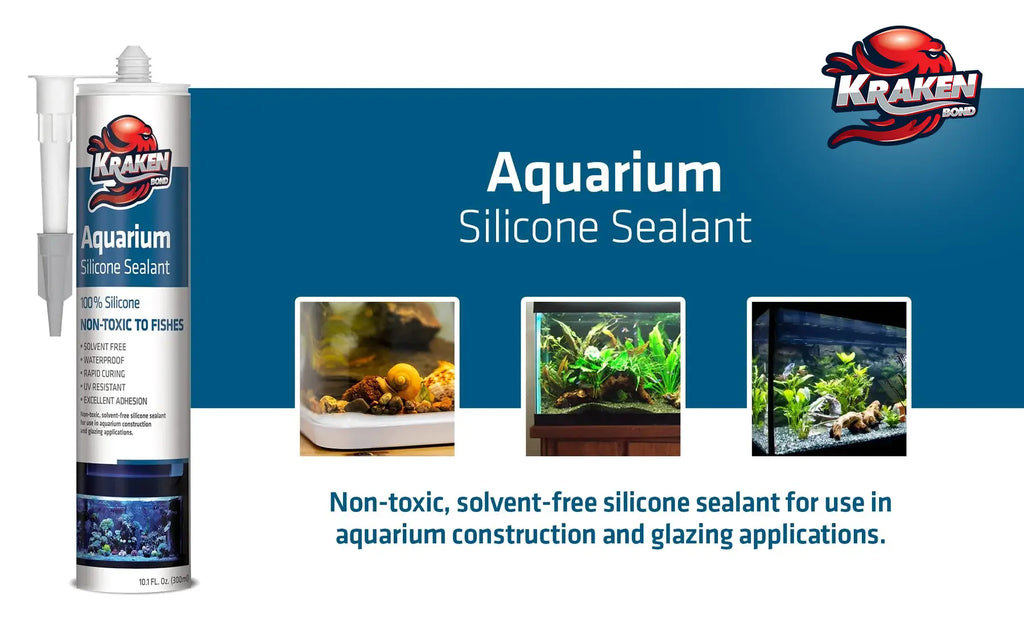
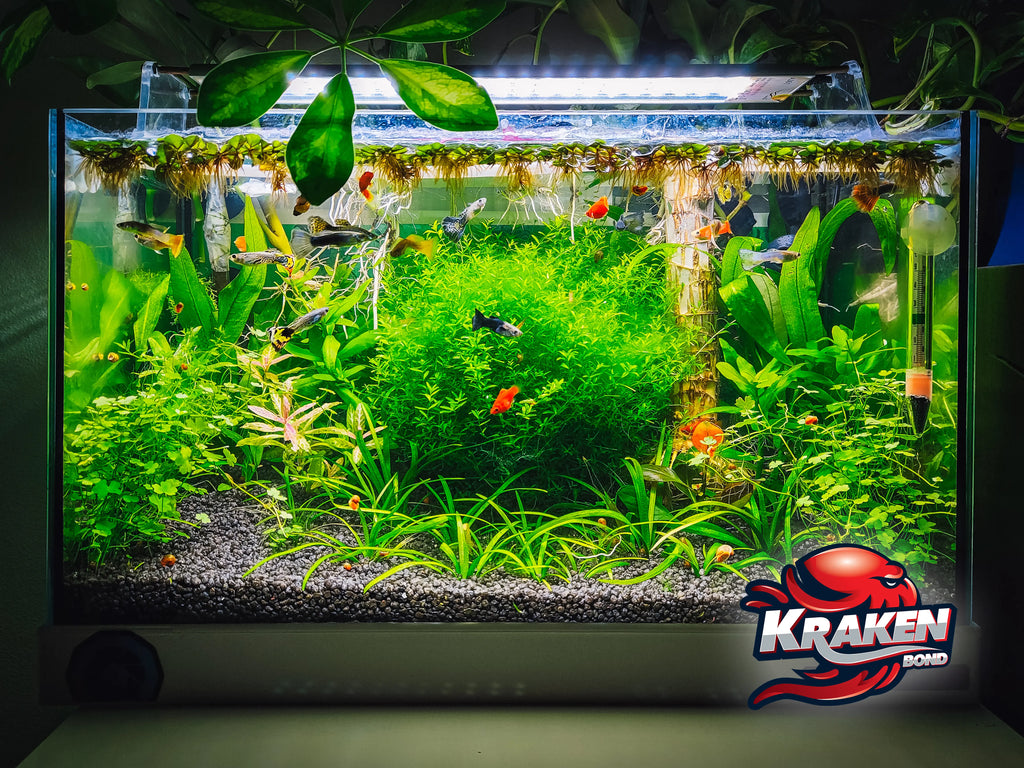
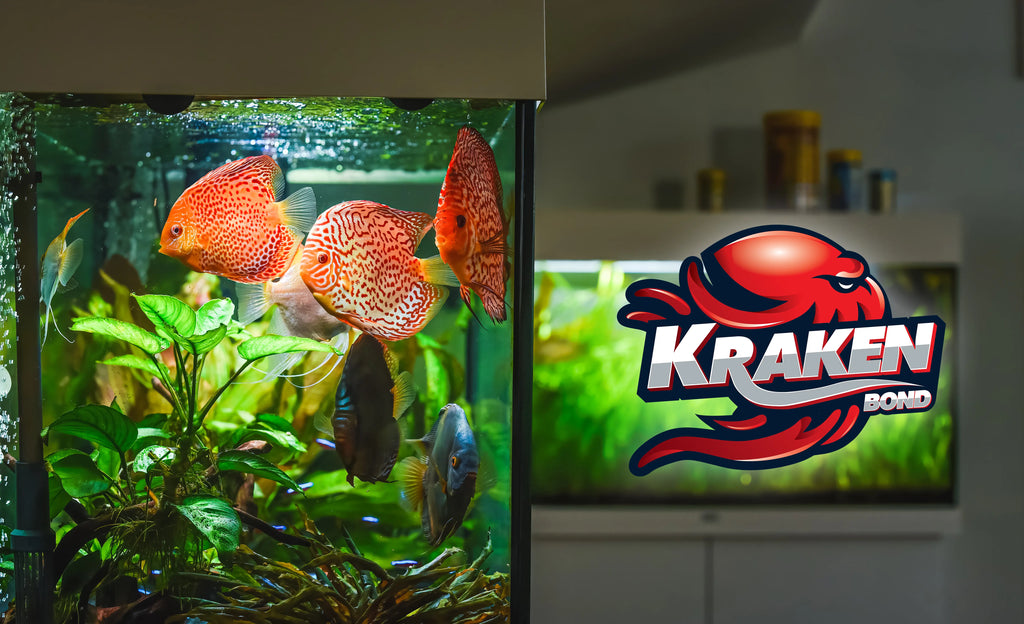
Aquarium safe silicone is a waterproof sealant designed to seal cracks or leaks in aquariums. It provides a safe and reliable solution to maintain the strength and durability of aquarium structures. Aquarium-safe silicone is usually non-toxic, flexible, and aesthetically appealing. It is suitable for freshwater and saltwater aquariums.
Why is Using Silicone Important in Aquariums?
Silicone is the ideal material for creating a waterproof seal. Silicone creates a strong bond between aquarium components, such as glass panels. Silicone is substantial in aquariums for the following reasons;
- Non-toxic: Silicone is a non-toxic material and safe for aquatic animals. It is formulated to release low or no VOCs, has no odor, and is chemically inert.
- Watertight Seal: Silicone offers effective waterproof seals for all types of aquariums. It effectively repels water, making it suitable for sealing moisture-prone areas.
- Durability: Silicone sealant has a long lifespan and can last decades without replacement. Silicone sealant holds up repairs and withstands temperature changes for a long period.
- Flexibility: Silicone is highly flexible when it cures. Silicone effectively withstands pressure and movement without cracking.
- Aesthetics: Silicone adds aesthetics to aquariums by providing different colors and patterns. There is a silicone for acrylic, saltwater tank, etc. Your chosen silicone should match your existing decor to give a visually appealing finish.
Factors to Consider When Choosing Aquarium Silicone
When choosing an aquarium fish tank silicone, there are 4 factors to consider. These factors include;
- Non-toxic: When choosing silicone, make sure that it is labeled aquarium-safe. This indicates that the sealant is non-toxic to aquatic life. In addition, ensure that the silicone does not release harmful chemicals when in contact with fresh water or saltwater.
- Mold and mildew resistant: Choose an aquarium silicone resistant to mold and mildew growth. Mold-resistant silicone maintains the integrity of the aquarium structure over time.
- Acid-free: Choose an acid-free silicone that can potentially release non-harmful substances into the tank. Acidic silicone intoxicates and suffocates aquatic life.
- Curing time: Curing time affects how quickly the aquarium gets repaired. A longer curing time indicates better adhesion and durability. For instance, silicone for aquarium glass should have a longer curing time.
How to Apply Aquarium Safe Silicone Sealant?
Applying aquarium safe silicone sealant is an easy DIY process. If you are new to this, here is a detailed step-by-step guide on how to apply.
Step-by-Step Application Guide
- Clean and Dry the Area: Prepare the surface by emptying the aquarium and placing fish in a temporary habitat. Clean and dry the area completely. Remove any dirt, debris, or grease. Use a razor blade, painter’s tool, or putty knife to remove old silicone from the body of the aquarium.
- Protect the Surrounding Area: Protect the surrounding area by ensuring it is also completely dry. Use a dry rag to clean both the area and the surrounding area.
Use painter’s tape to mark out the surrounding area where the sealant will be applied. This helps to protect the surrounding area and guidance while the sealant is applied along the seam.
- Choose Aquarium-Safe Silicone: Choose a non-toxic aquarium safe silicone. Get Kraken Aquarium Silicone Sealant; it is a non-toxic and flexible silicone. It is safe for your fish and can withstand pressure without shrinking.
- Cut the Silicone Nozzle: For easy application of sealant, cut the nozzle at 45 degrees to create a suitable opening. The size of the opening determines the size of the seam that will be applied.
- Apply the Silicone: Learn how to use a caulking gun before applying. Load the sealant on a caulking gun and secure it properly. The caulking gun makes it easier to dispense aquarium silicone.
Apply silicone sealant by squeezing the trigger on the caulking gun. Apply a steady beam of silicone sealant into the seam along the joint. Provide consistent pressure while applying the sealant to give an even application.
- Smooth the Silicone: Immediately after applying the sealant, smooth the applied sealant using your fingers or a smoothing tool. When smoothing, wet your fingers or smoothing tool with water to prevent the sealant from sticking.
- Allow Adequate Drying Time: The sealant is allowed to dry for at least 24 hours, according to the manufacturer’s manual.
- Remove the Painter’s Tape While Wet: Remove the painter’s tape immediately after applying silicone sealant. It is easier to remove the tape or excess sealant while wet. Pay attention to gaps, air bubbles, or any missed spots.
- Inspect and Test: Inspect the job and test the seal by adding water to check for leaks. If you detect any leak, apply the sealant again by following the above-mentioned guidelines.
Tips for a Smooth Application
An effective silicone seal will not only ensure the safety of your fish but will also enhance the aesthetics and durability of the aquarium. Professional contractors use 5 common tips to ensure a smooth application. These tips include;
- Cleanliness: Clean the aquarium thoroughly before applying silicone sealant. Remove old silicone, debris, or dust on the area to be sealed. Ensure the area is completely dried before you begin sealing.
- Use a Caulking Gun for Even Pressure: A caulking gun helps to achieve an even application of sealant evenly. Apply a consistent on the caulking gun to achieve an even application.
- Smooth the Silicone Immediately (Wet Finger Technique, One Continuous Motion): To achieve a smooth finish and remove excess sealant, smooth the silicone immediately after application. Your finger, a smoothing tool, or a small spatula can be used for this process. Wet the tool used in smoothing to prevent the sealant from sticking to it. Run your finger or smoothing tool in one continuous motion and
- Remove Air Bubbles: Avoid leaving gaps or air bubbles when applying aquarium sealant. Air bubbles in aquarium silicone weaken the seal, thereby compromising the structural integrity of the aquarium. Air bubbles act as breeding grounds for debris, moisture, and dust.
- Practice Makes Perfect: Continuous application of aquarium sealant leads to improvement. Before application, you can practice on a cardboard to get a hang of the process.
Which Aquarium Silicone Is Best?
The best aquarium silicone for both saltwater and freshwater tanks is Kraken Aquarium Silicone Sealant. It is a non-toxic formula with superior bonding strength. It offers excellent flexibility and durability. Kraken Aquarium Silicone Sealant bonds all types of aquarium glass easily. The formula is also transparent and clear, thereby making it the ideal sealant for quick repairs.
How Long Does Aquarium Silicone Take to Dry?
Aquarium silicone takes up to 24 hours to fully cure. However, the curing time for different aquarium silicone products depends on the manufacturer’s manual. Curing is essential for aquarium silicone to create a strong bond.
Conclusion
The secret to getting excellent aquarium maintenance is getting the right Aquarium-safe silicone. Silicone is the ideal material for aquarium maintenance because of several reasons. It is non-toxic, creates a waterproof seal, adds aesthetics, and offers superior flexibility.
The comprehensive step-by-step guide listed above is all you need to repair your aquarium. Essential tips required for a smooth application are cleanliness, avoiding air bubbles, even pressure on the caulking gun, smoothing, and constant practice.
Share this


Author : Krakenbond Team
Found this helpful? Make Kraken Bond your go-to source on Google
If our content has been useful, you can tell Google to show more of it when you search. Click below, then check the box next to "KrakenBond.net" on the page that opens. It takes about five seconds.
Add Kraken Bond on GoogleYou'll need to be signed in to your Google account. One click, then tick the box next to KrakenBond.net
Let customers speak for us

Product sprayed well with good coverage. I was very happy with me the results. I had purchased another brand and it didn’t spray very well and the coverage was not great compared to Kraken.

Great product
Haven’t used it yet. But been reading instructions and seems easy enough. We will see.
It was delivered in a reasonable amount of time and packaging was great.
Was easier to apply than I thought. Cleaning was very easy with the added cleaner cans.
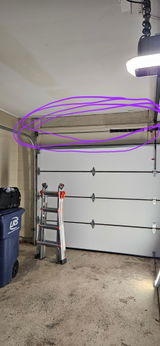
Used this to insulate the space between the ceiling and the wall right above a two-car garage door. It worked exactly as described, and I was surprised how easy it was! It took more time to move the ladder around and get stuff out of the way in the garage than it did to actually spray. Tips: Shake the can longer than 2 minutes. The better you shake the better the product comes out. Clean the nozzle and gun with the cleaner frequently and don't let it sit between cans. An actual respirator is highly recommended! Wear all the protective gear it comes with, especially the glasses. Take frequent open air breaks as you go. Overall I am impressed for a product I bought from a Facebook ad.
Kit is great, has everything you need!

The best pond foam out there, just order another case.
Incredible quality and very easy to use. I highly recommend this product.

The quality of the product is very good, the sealant stays white after drying out.
Great product, easy to use

The quality of this foam gun is excellent. The design is well refined and fits in the hand extremely well. The trigger works phenomenally. After several jobs this gun continues to impress.

Best caulk ove used in years. 144 tubes used so far and after 3 years it is solid and reliable.
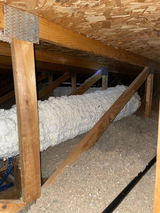
Foam was easy to use and insulated the duct pipe well. Odor dissipated faster than expected.
It works great didn’t go as far as I thought
WORKED GREAT! I have used larger spray foam systems before, so I have some experience. Followed the instructions and had no issues. Super easy. Just take your time and just lightly pull the trigger and you should have great results. All the equipment and cans worked perfectly and the firm is good quality.


Leave a comment