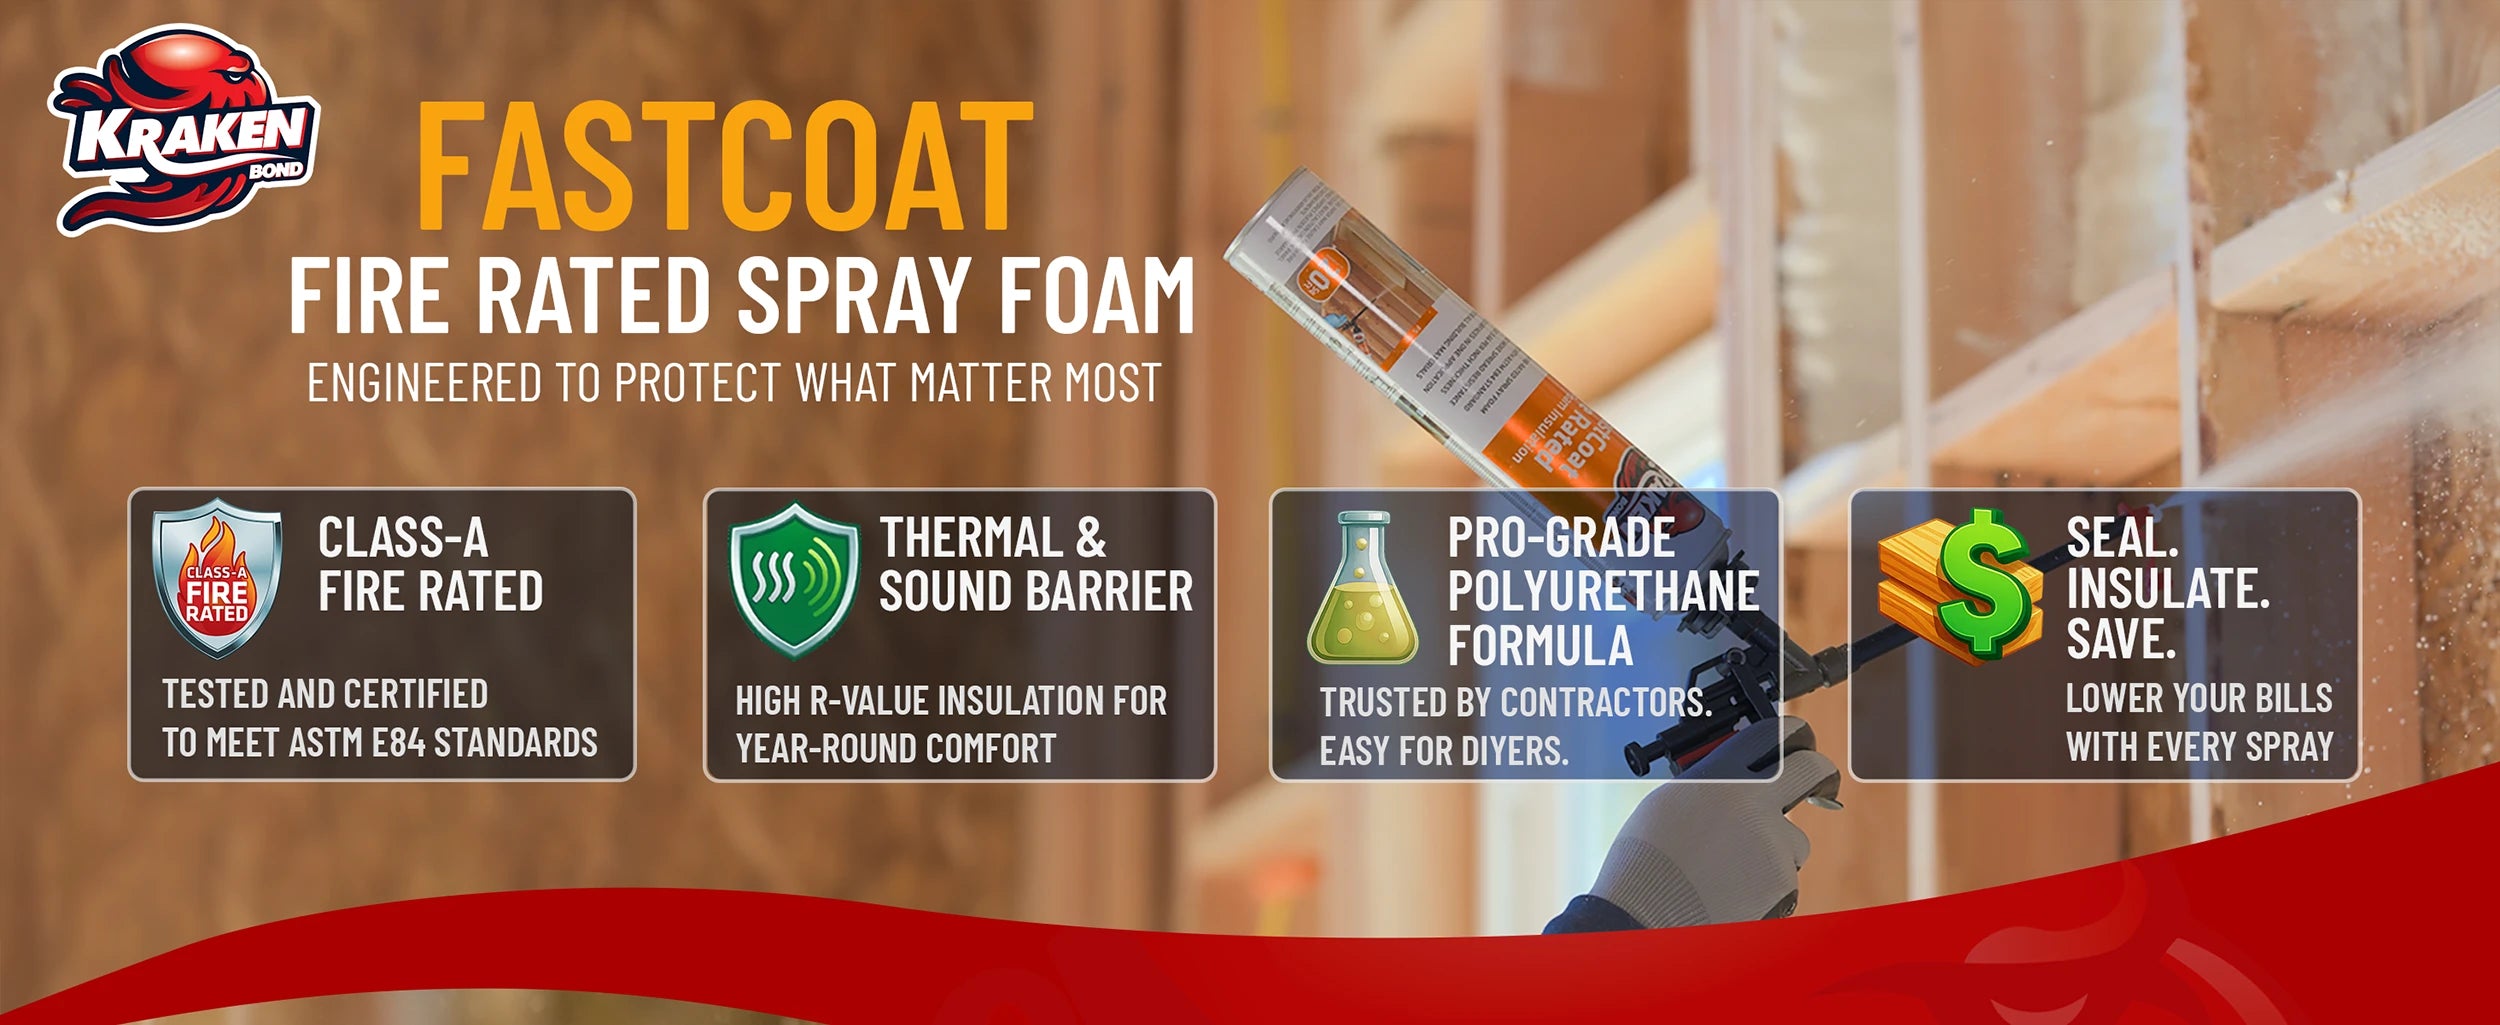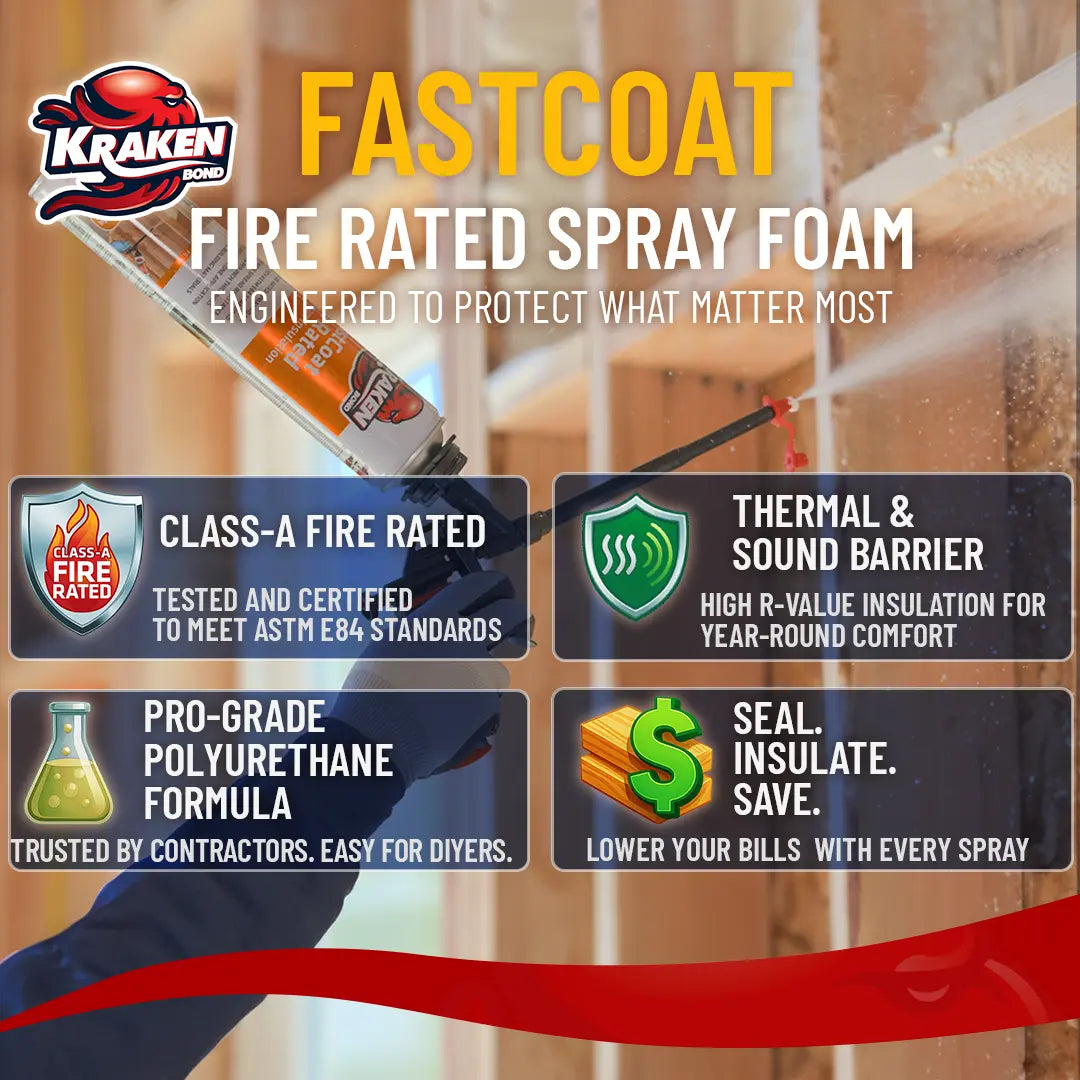


FastCoat Insulation Spray Foam, Closed Cell Expanding Foam | Class A Fire Rated
Regular price
$22999
Regular price
$25799
Sale price
$22999
Save 11%
/
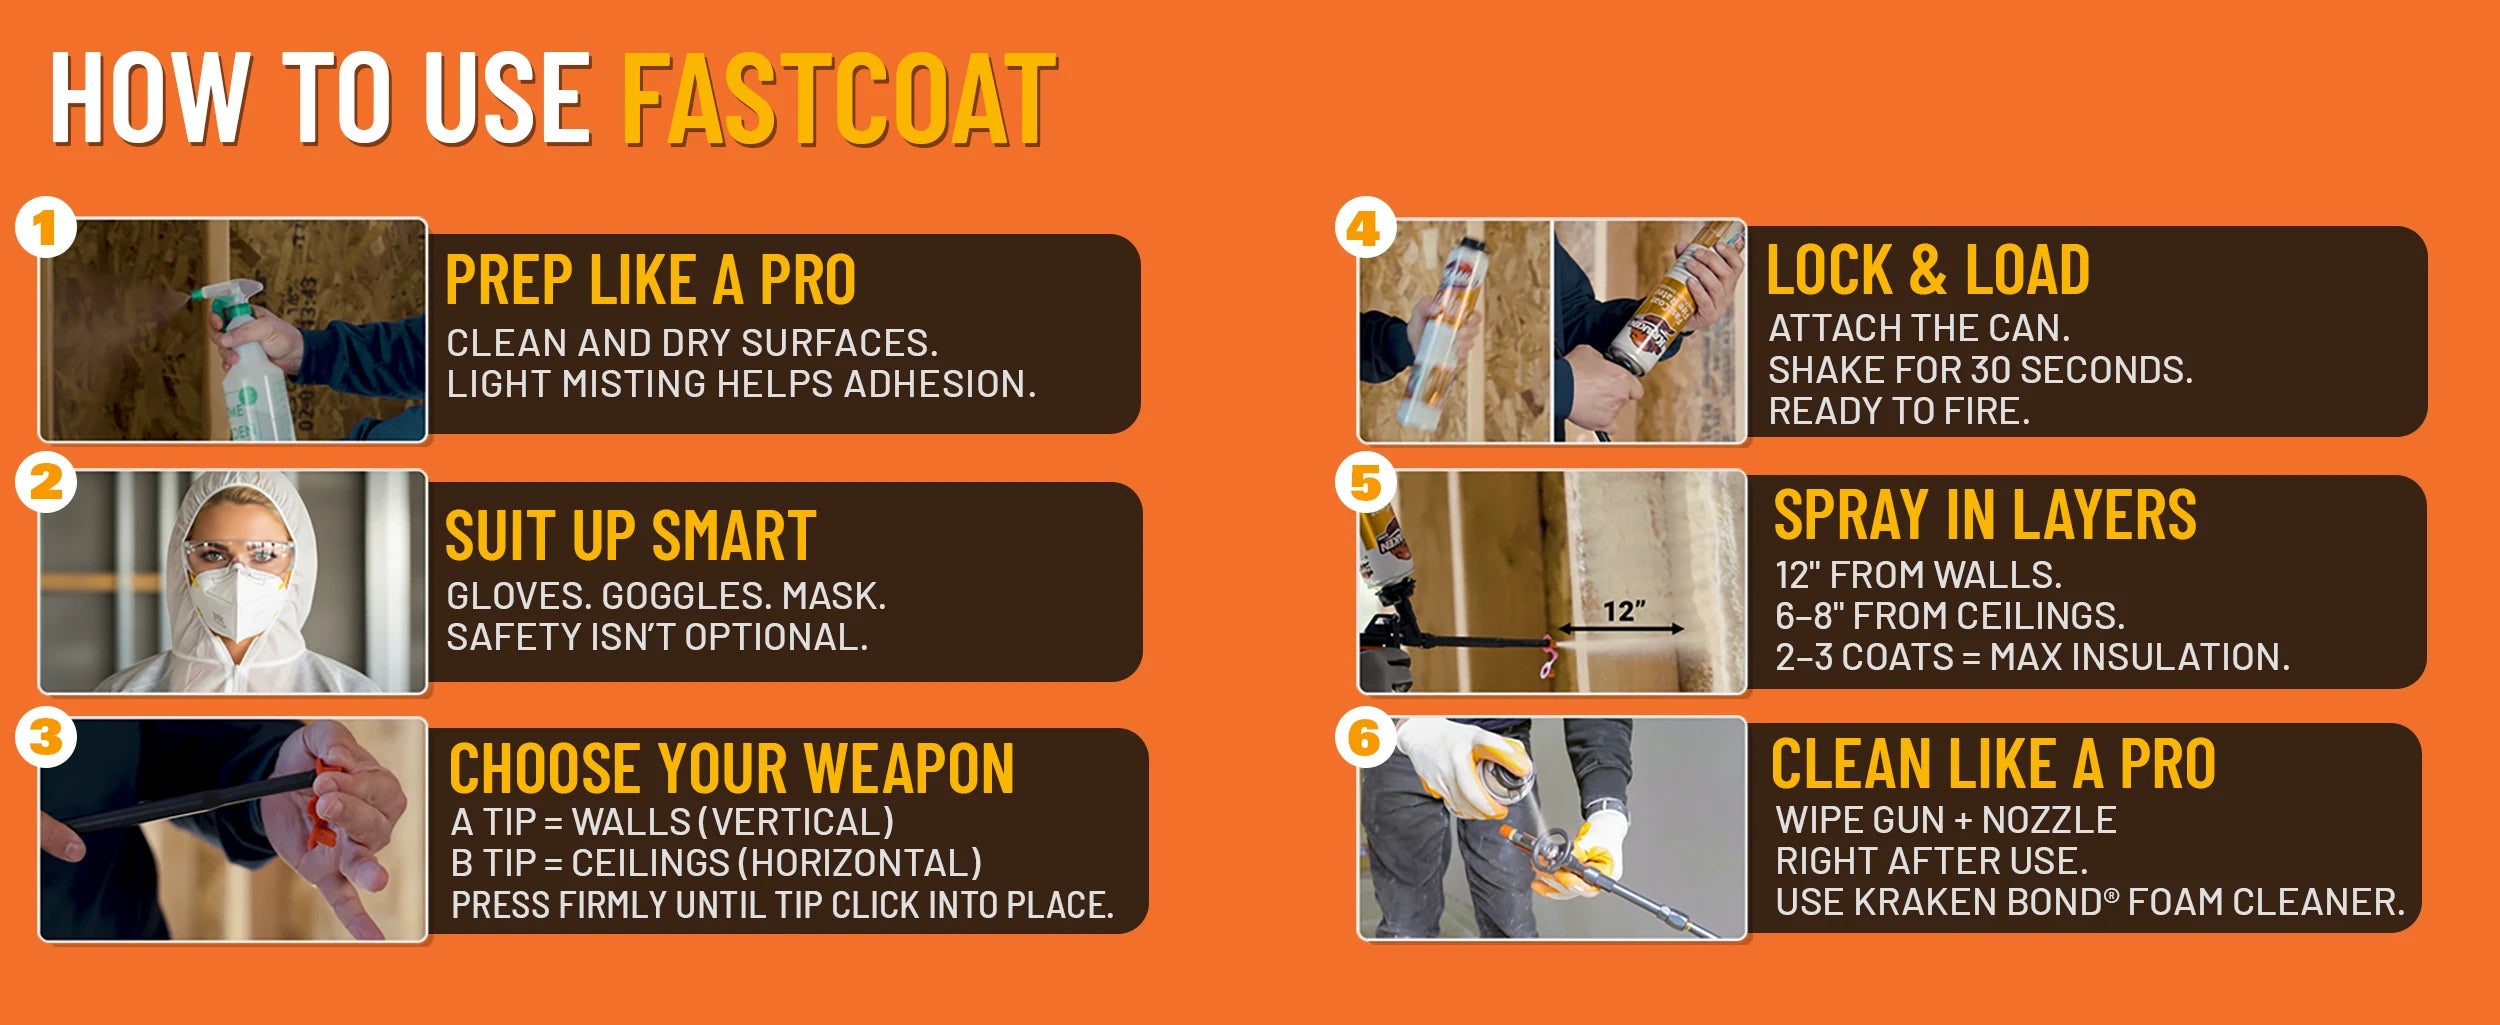
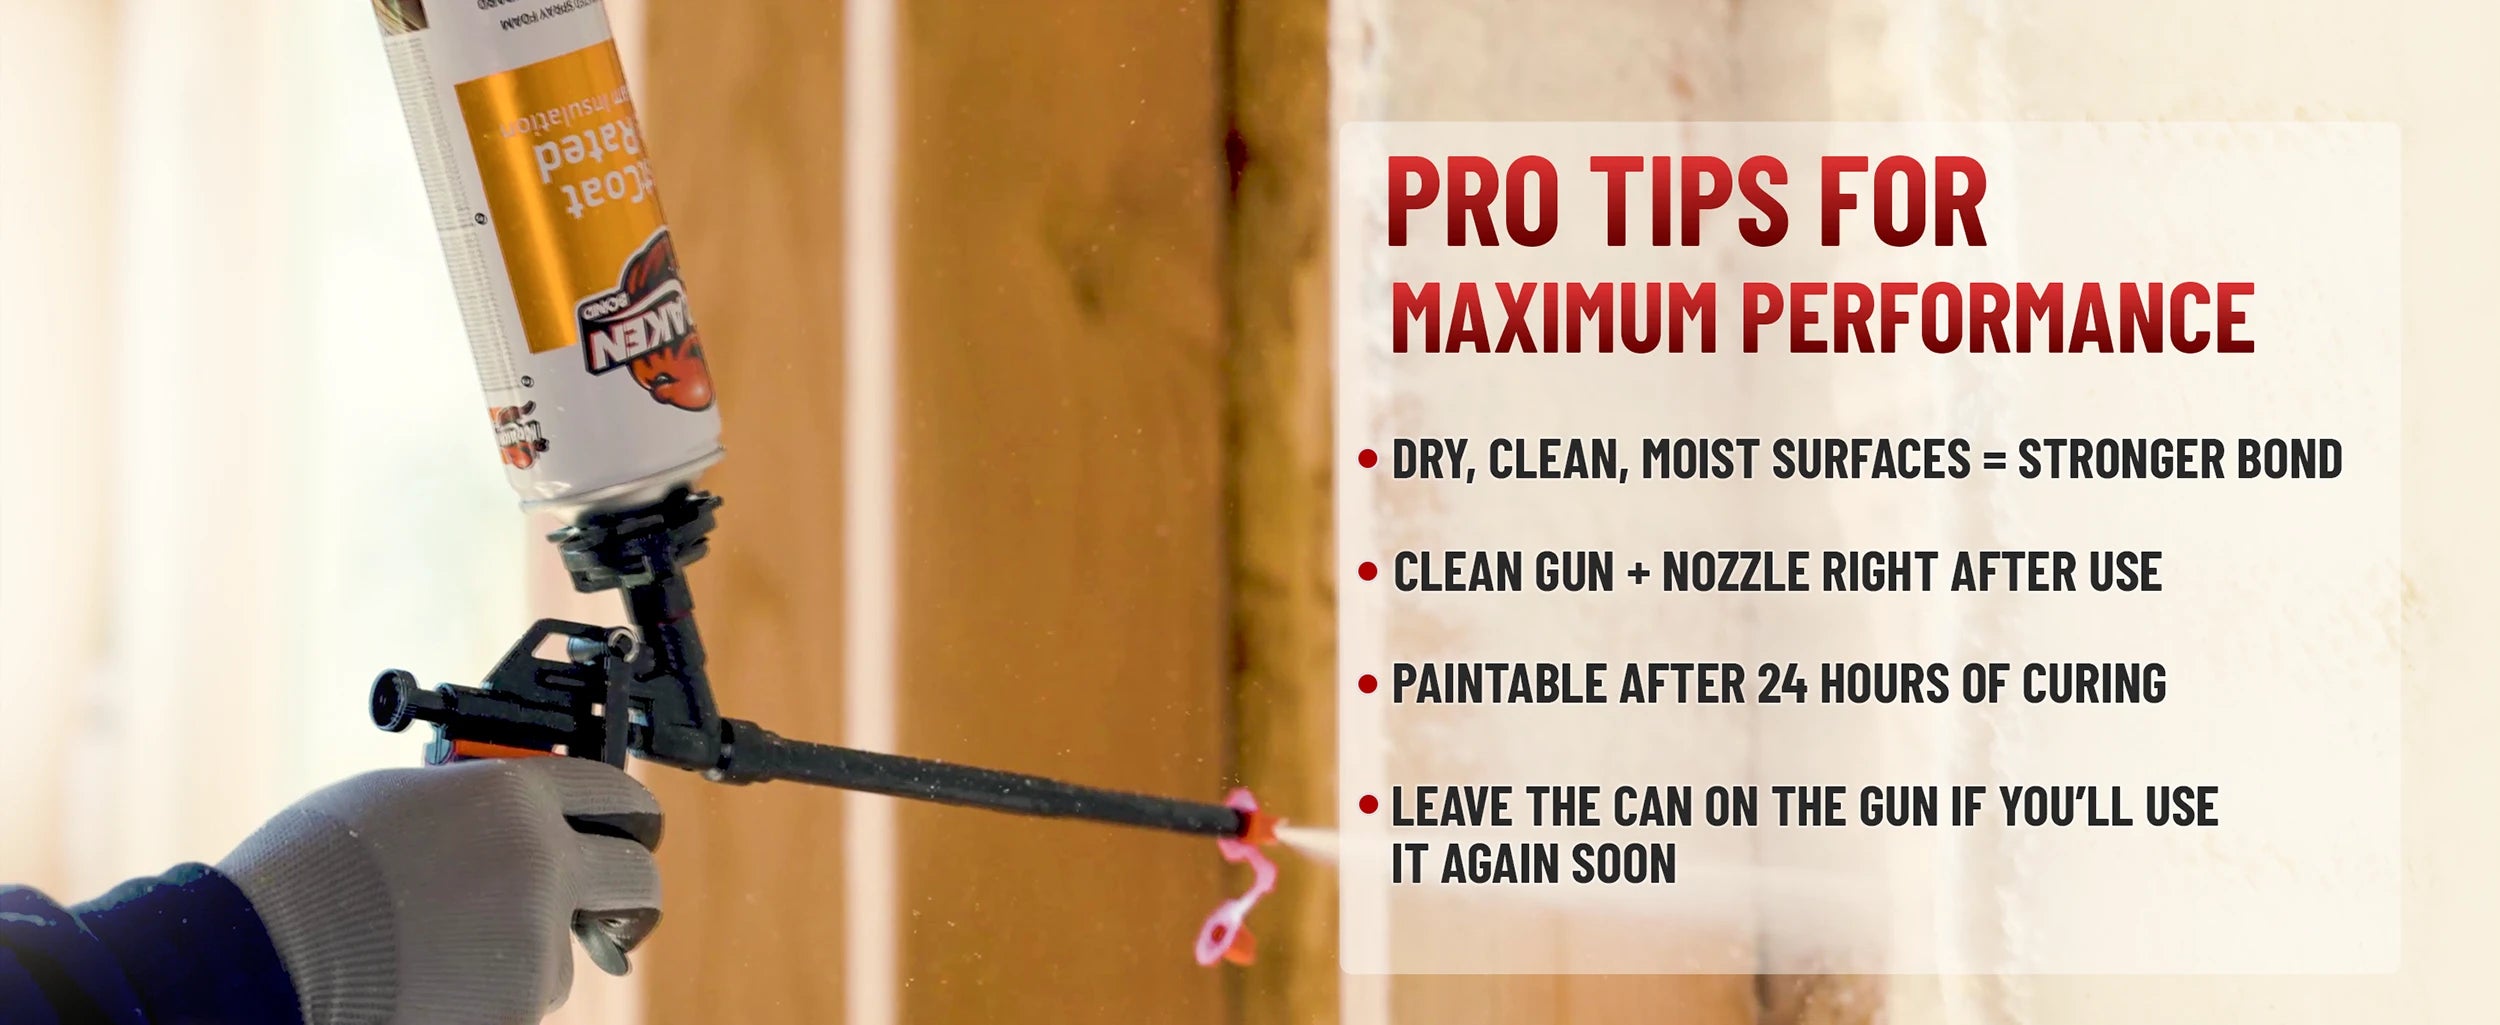
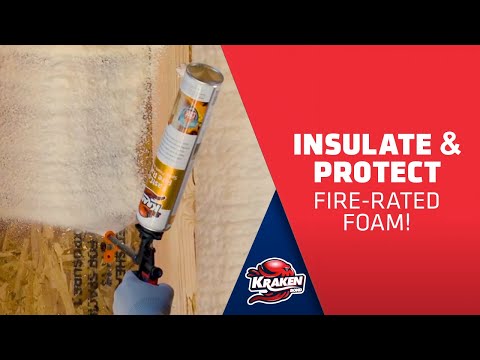
See FastCoat in action
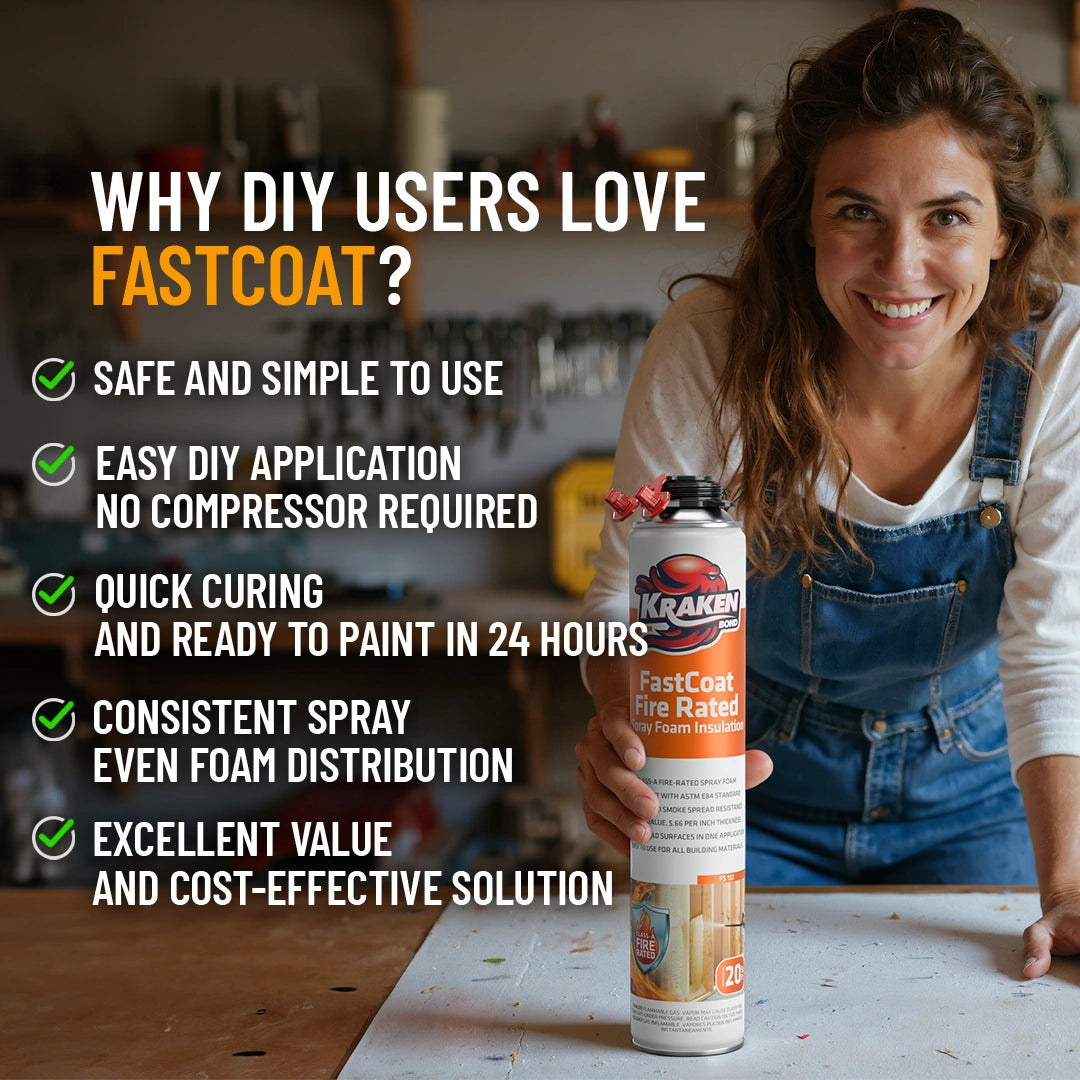
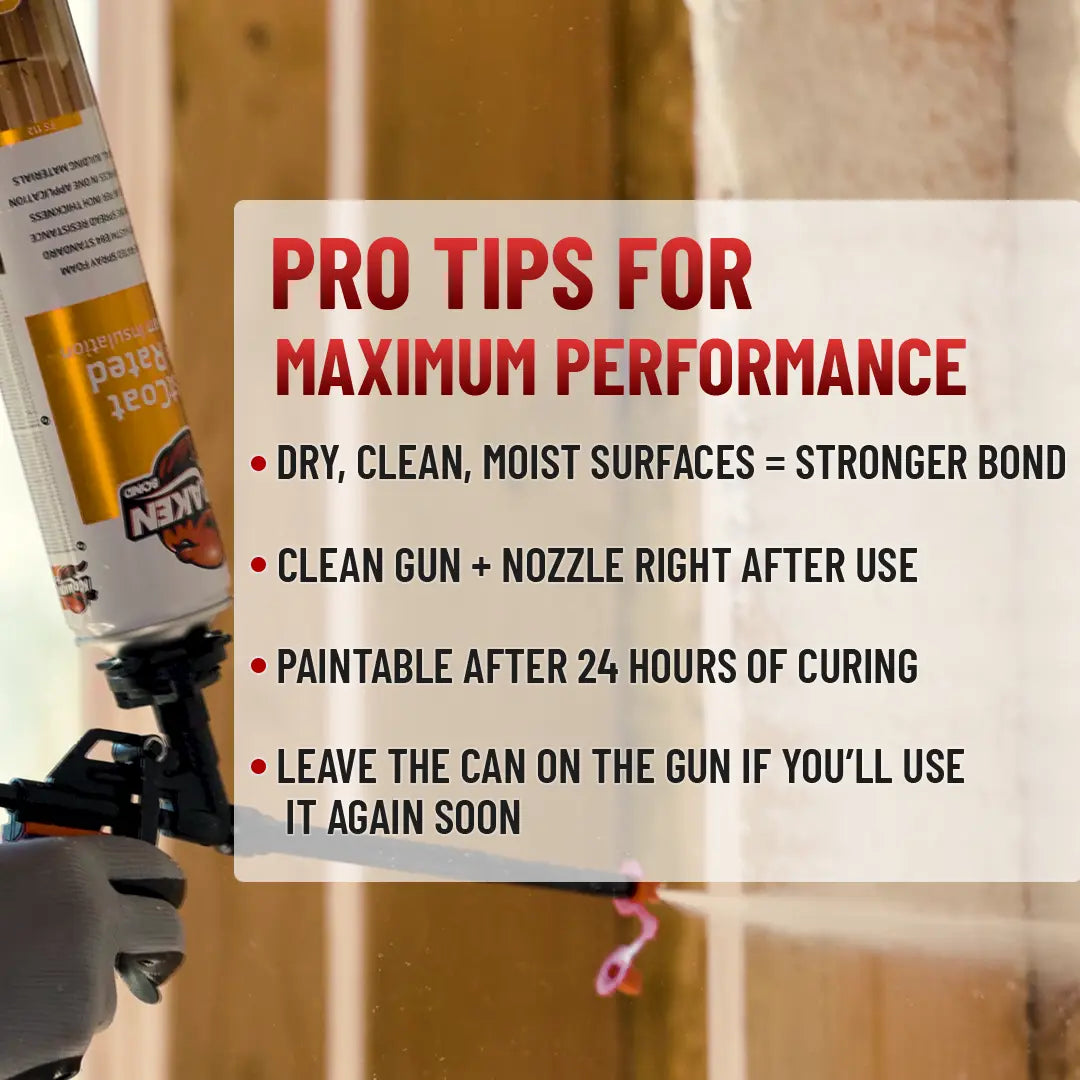
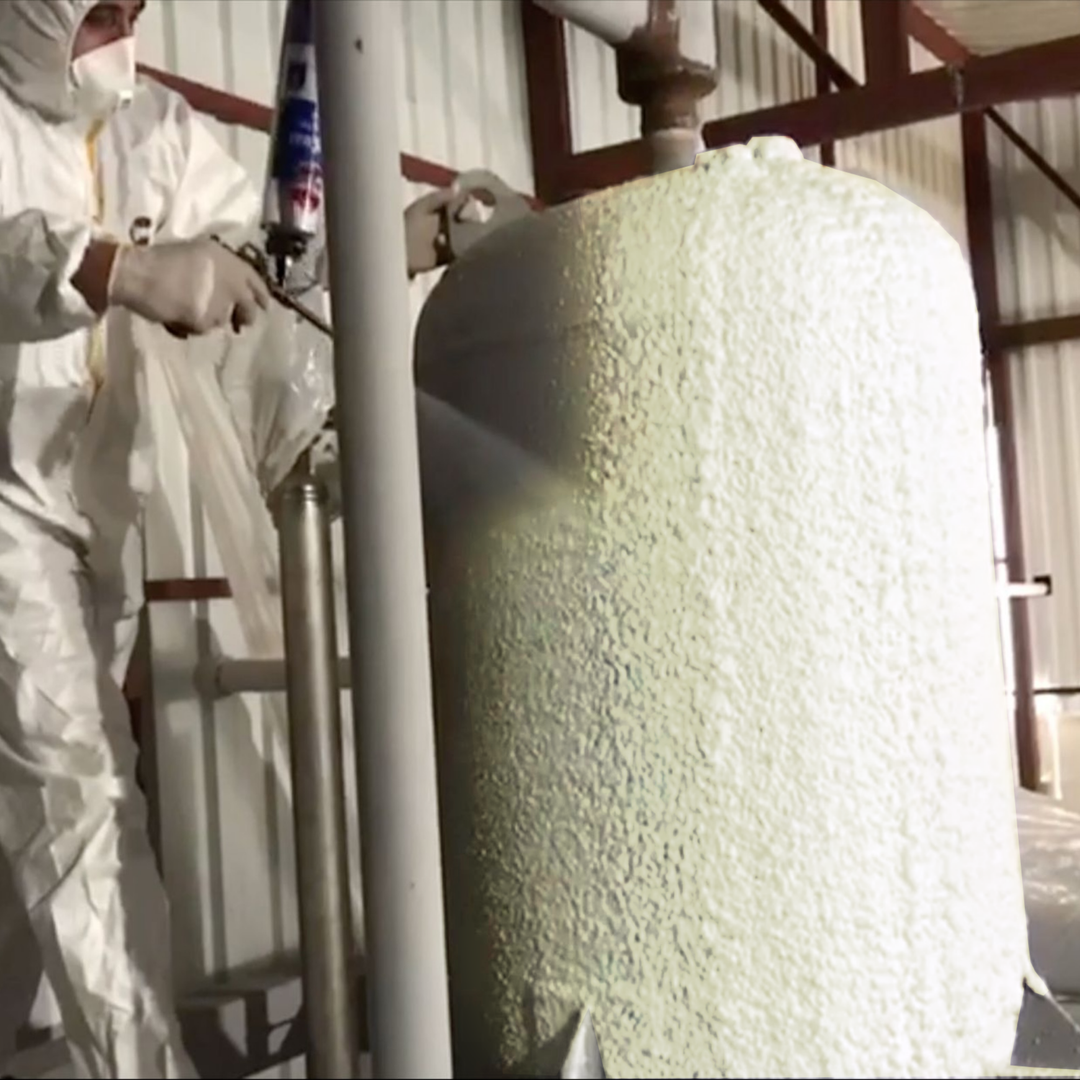
✅ Easy DIY Application: User-friendly spray foam kit designed for smooth, mess-free use with professional-grade results.
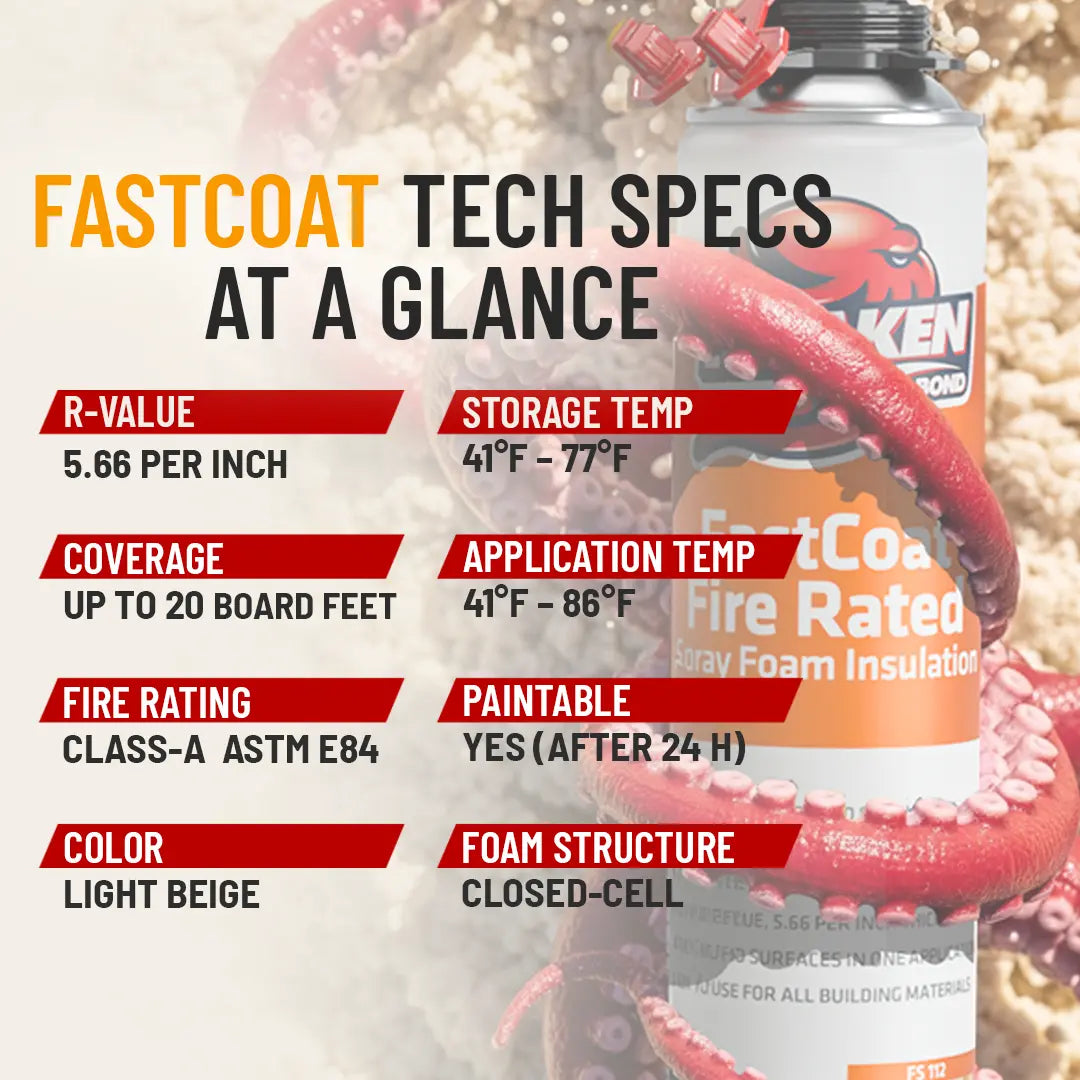
✅ High R-Value & Coverage: Closed-cell insulation rated R-5.66 per inch (R-11.32 at 2"), covering up to 20 board feet per can for efficient performance.
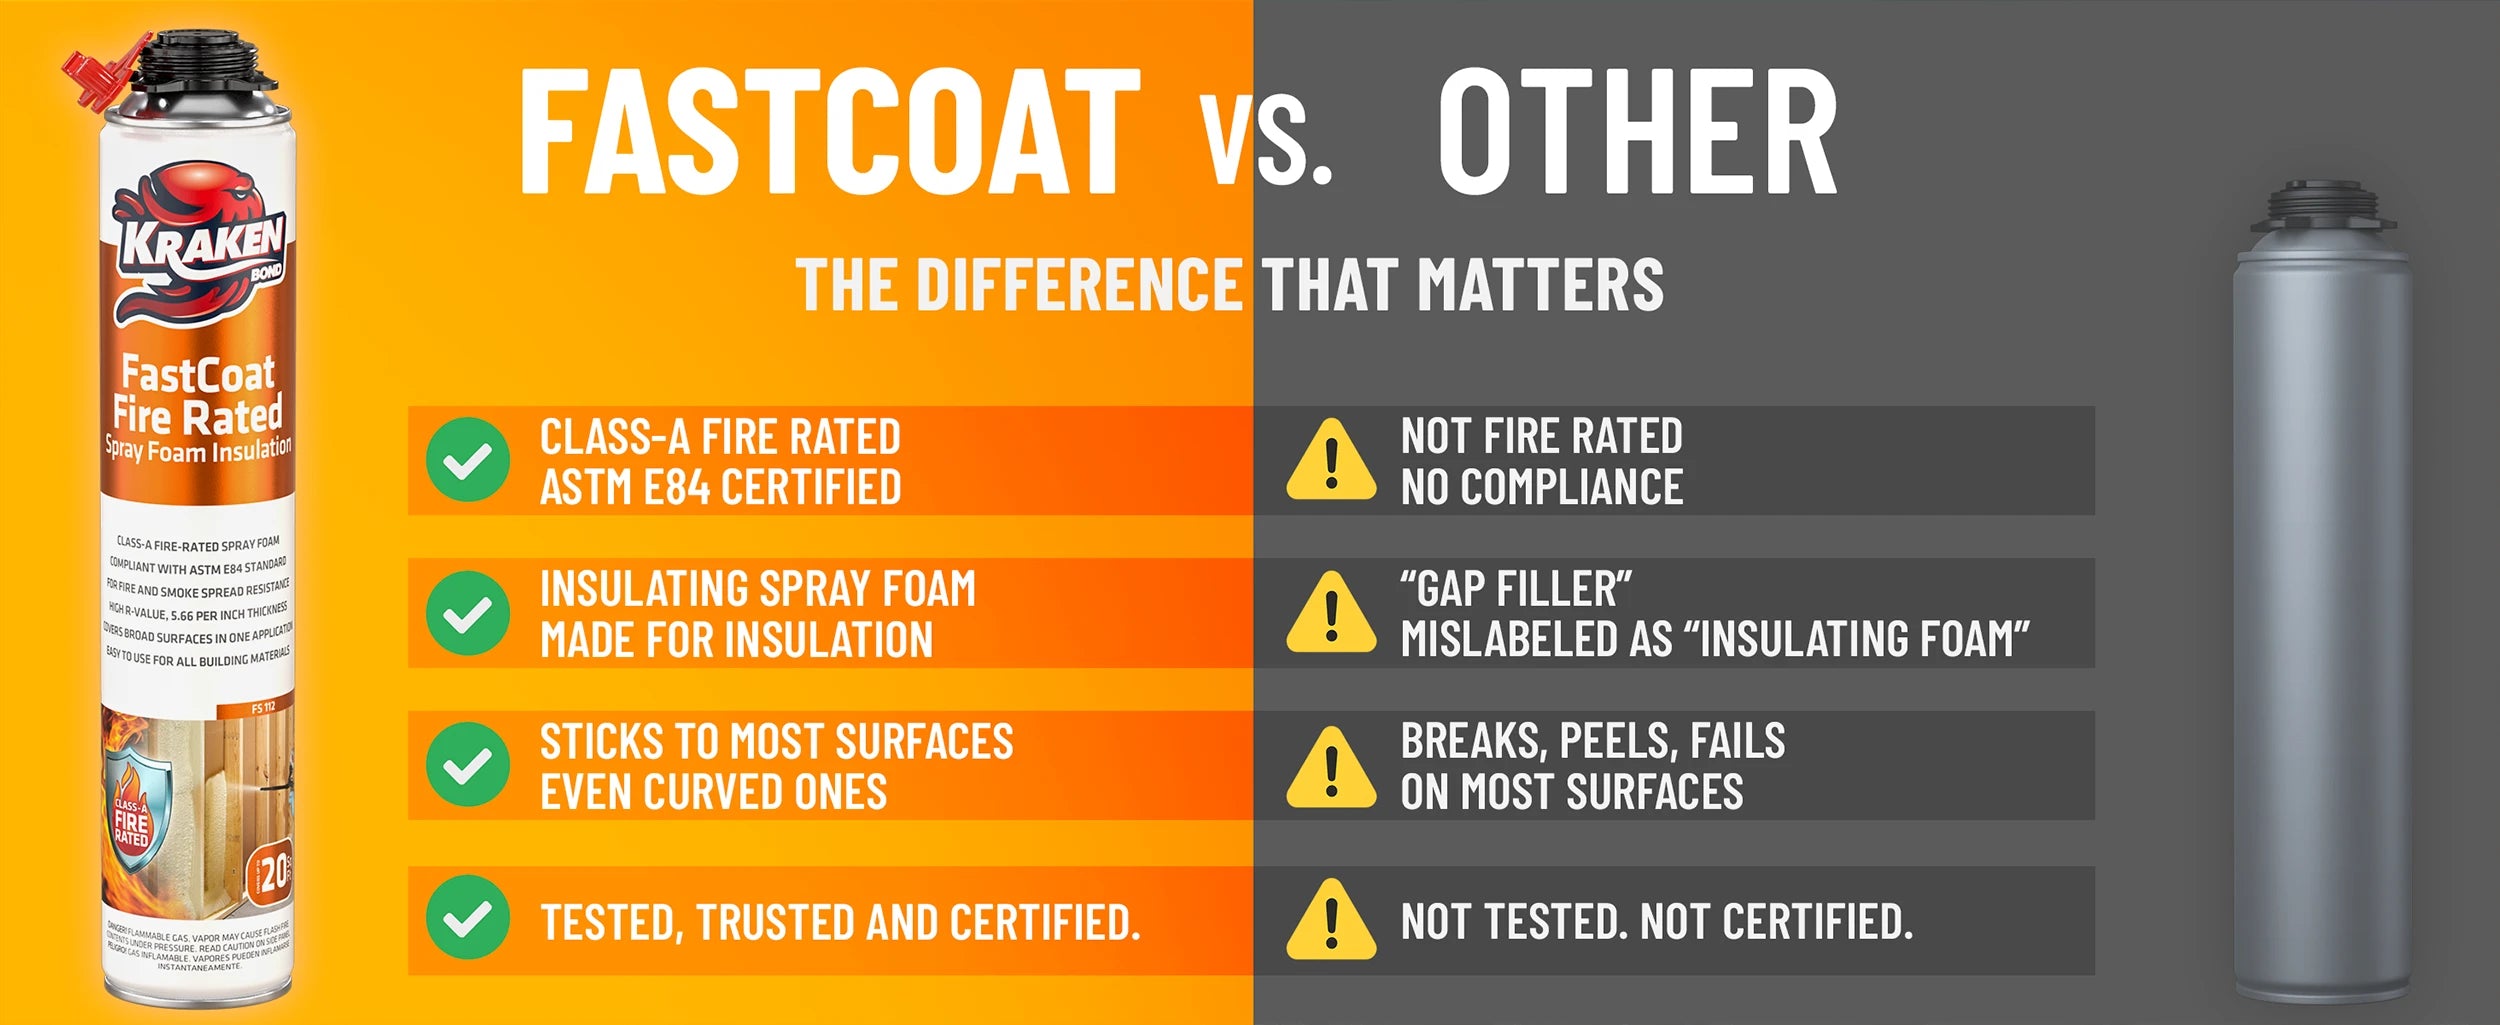
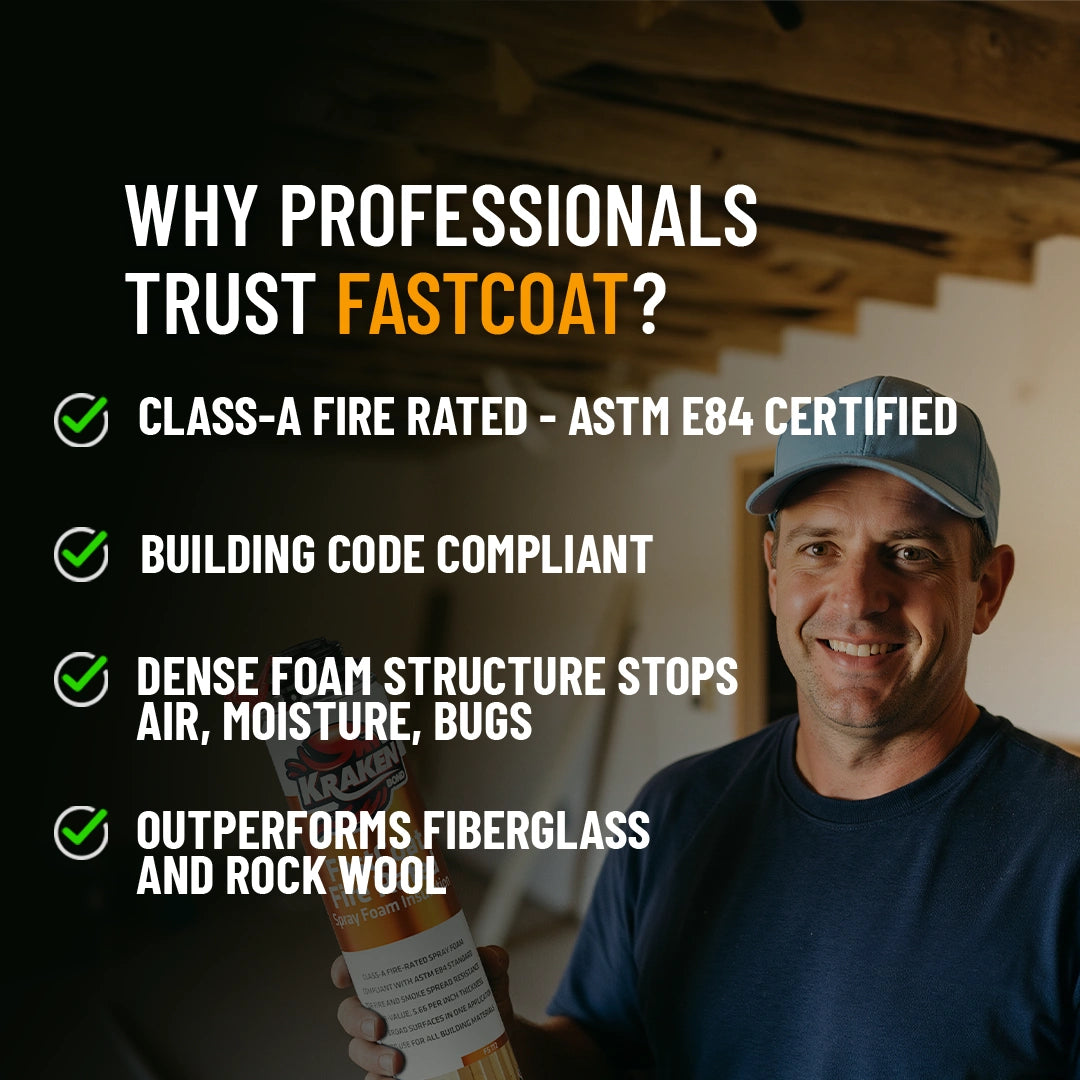
✅ Class A Fire Rated (ASTM E84) and Building Code Compliant: Meets ASTM E84 standards and U.S. building code requirements for safe residential and commercial use.
✅ Closed-Cell Seal: Blocks air, moisture, and noise while improving structural strength.
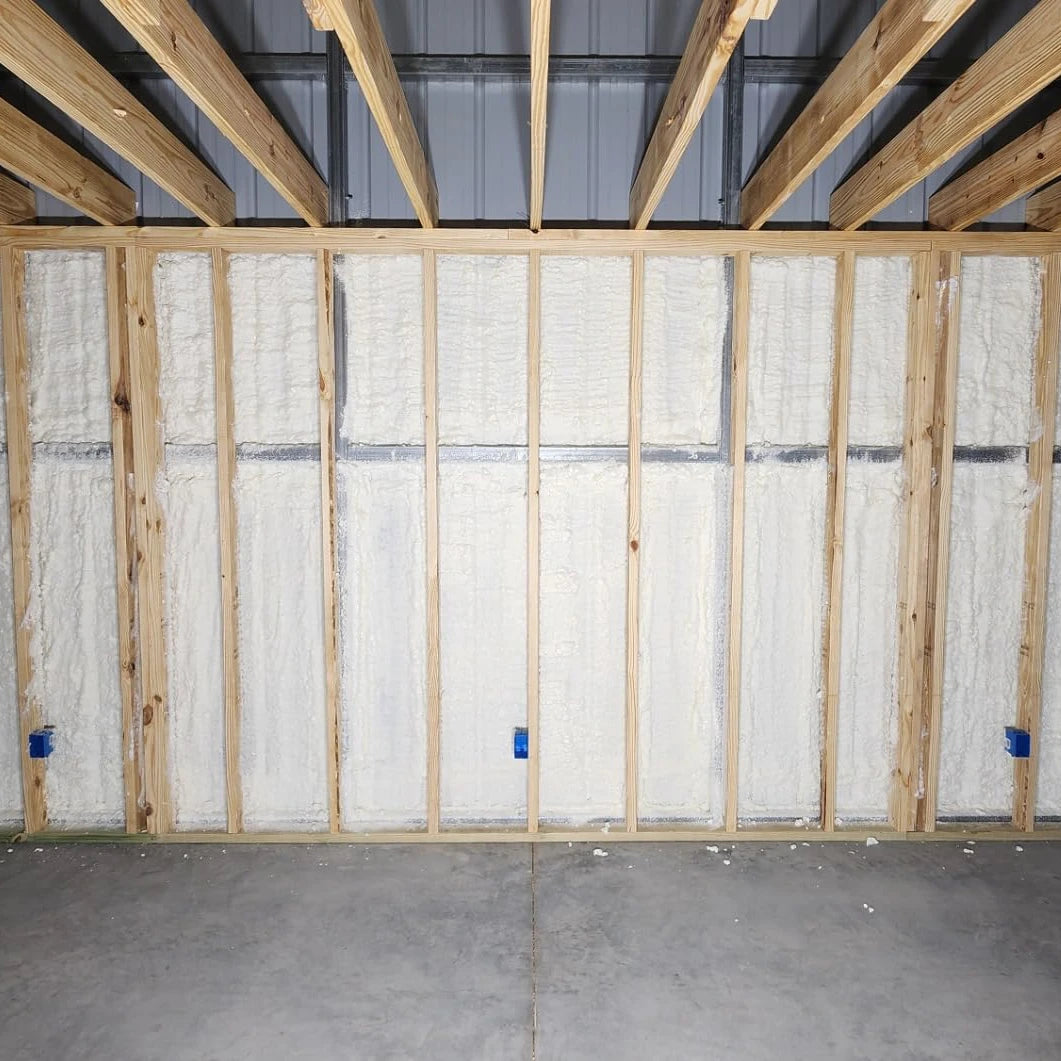
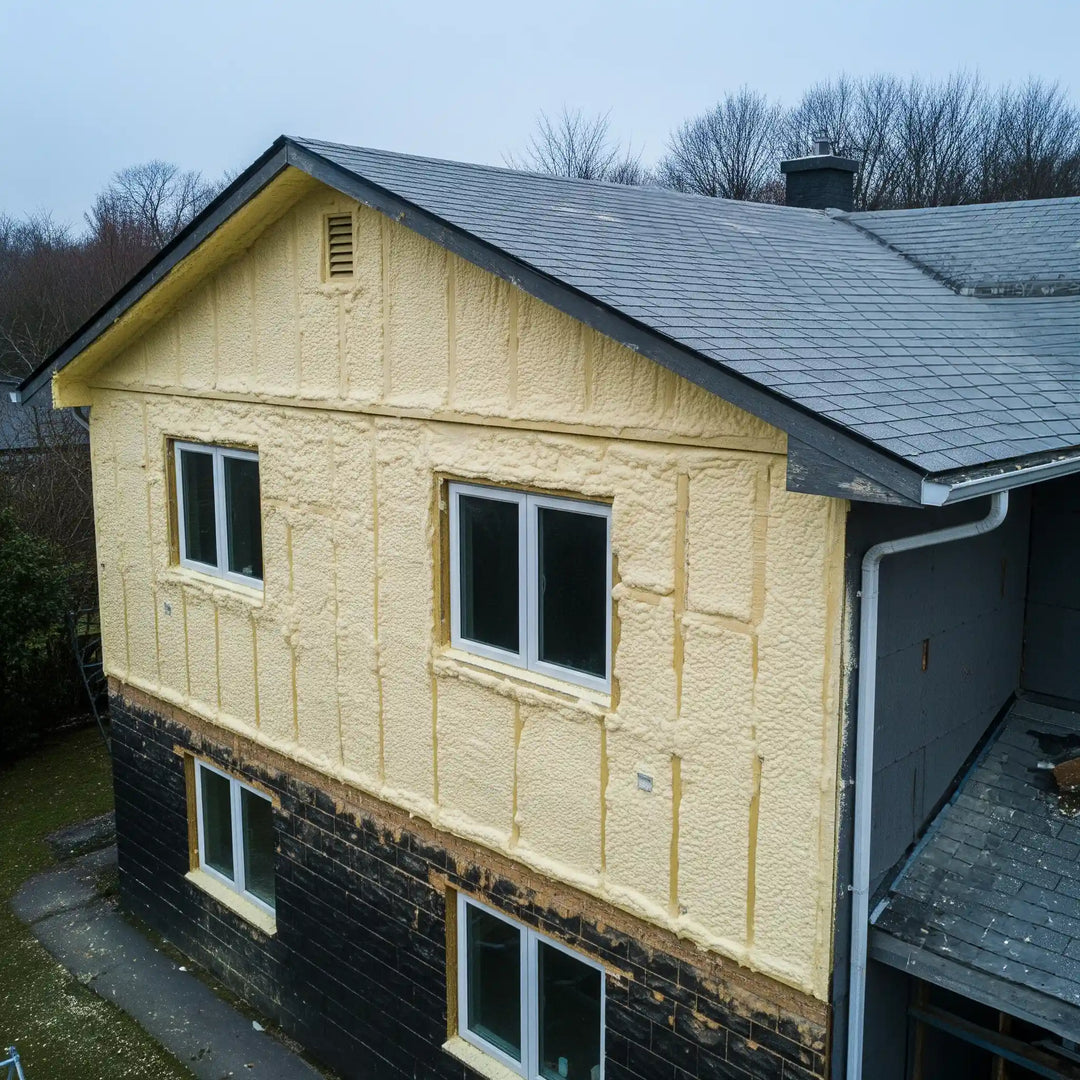
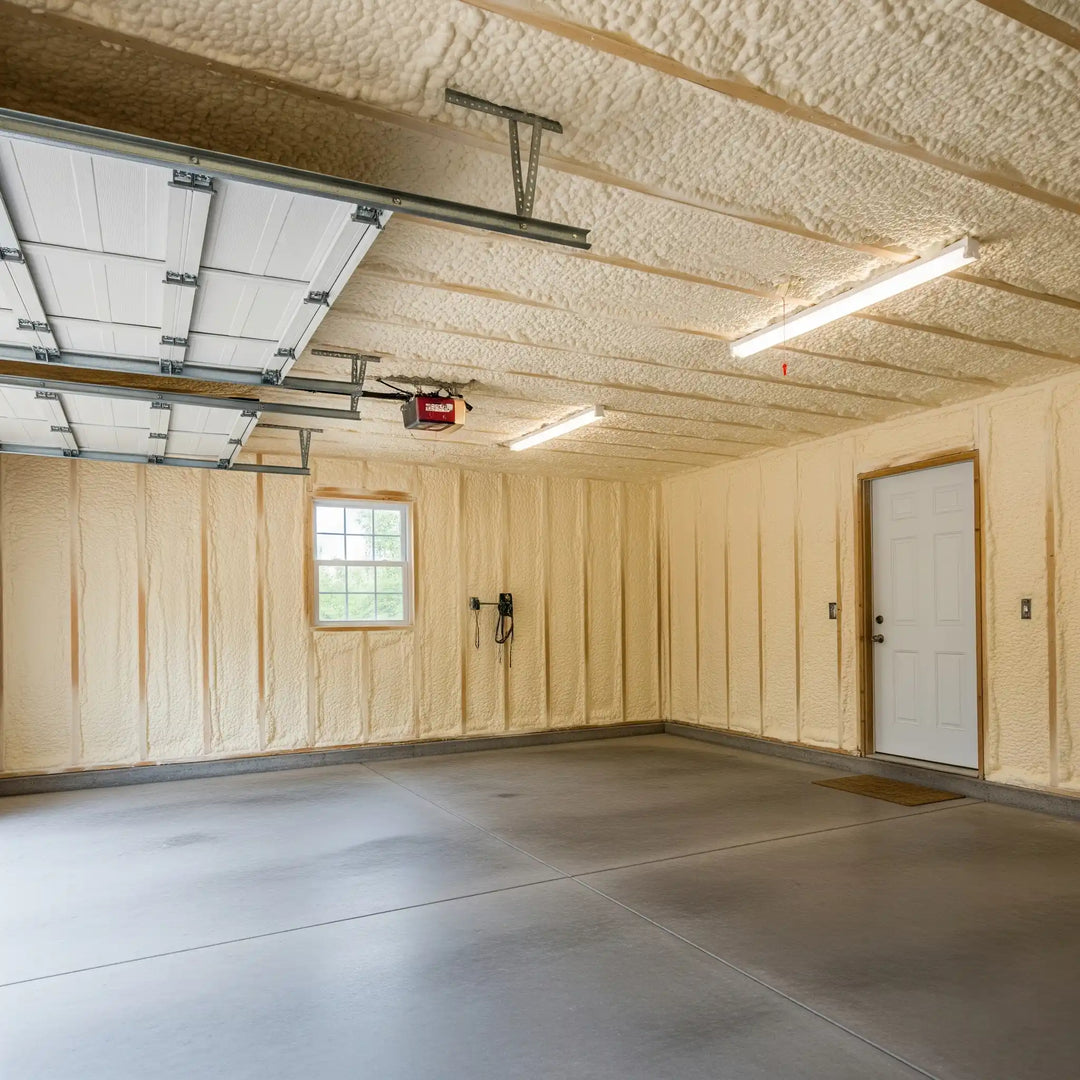
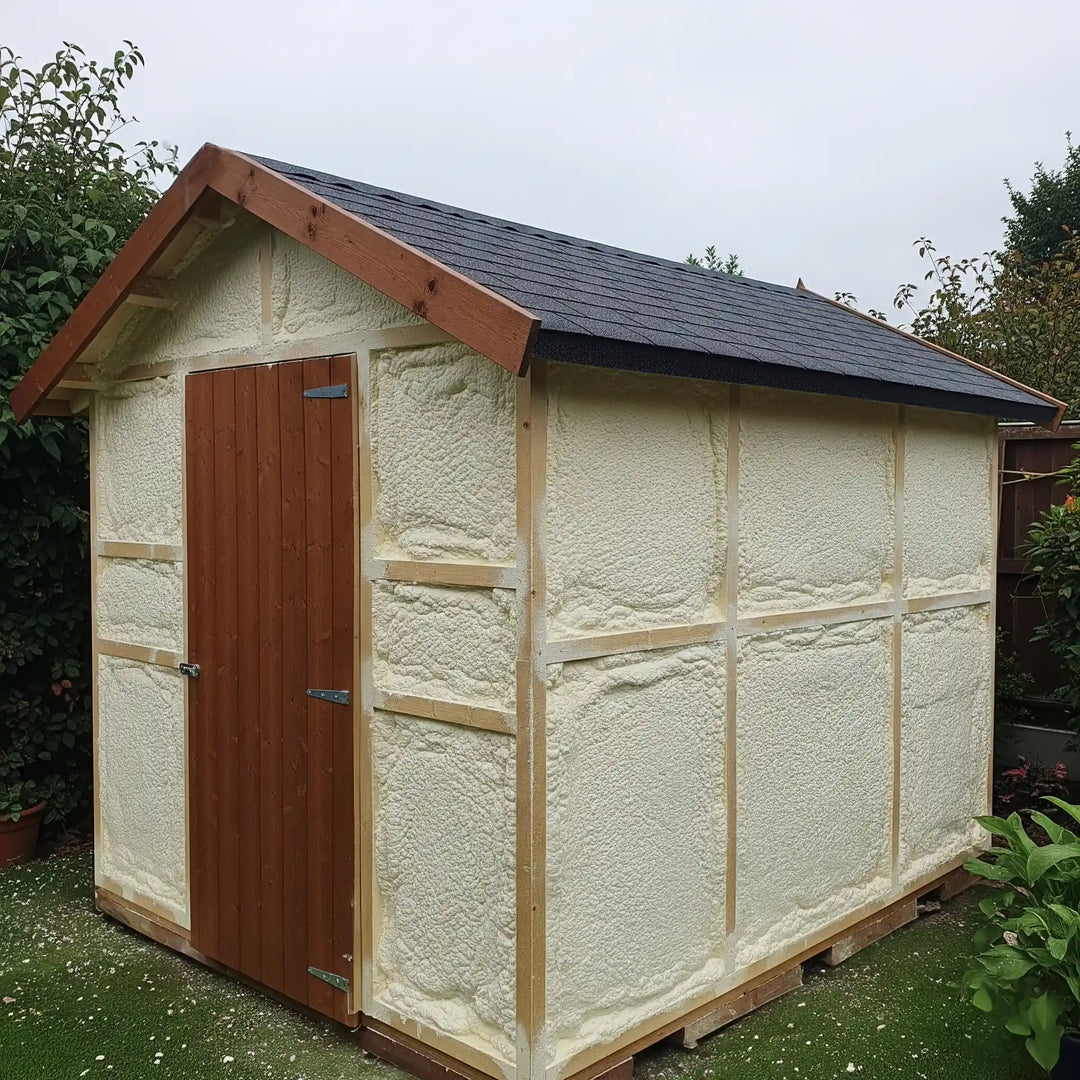
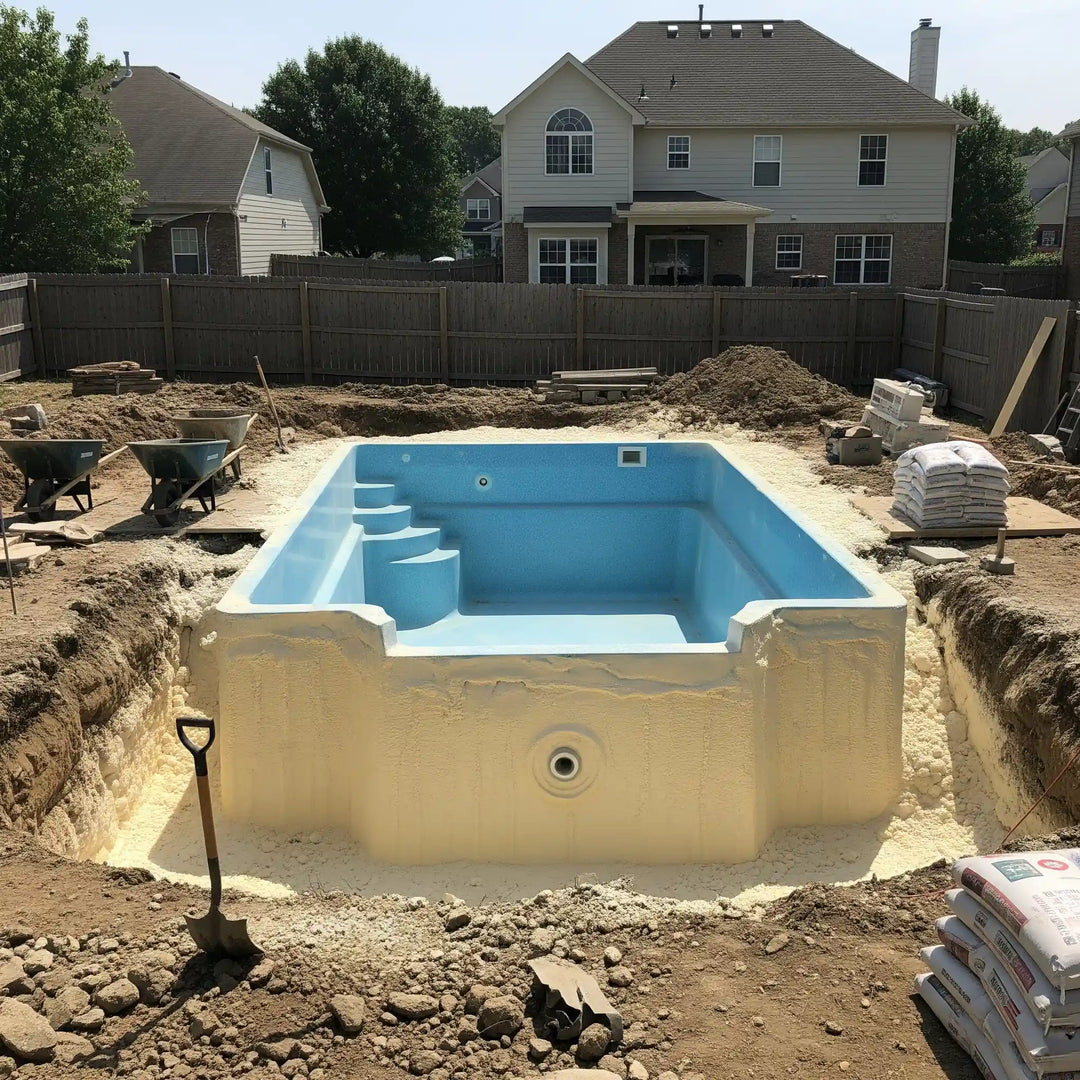
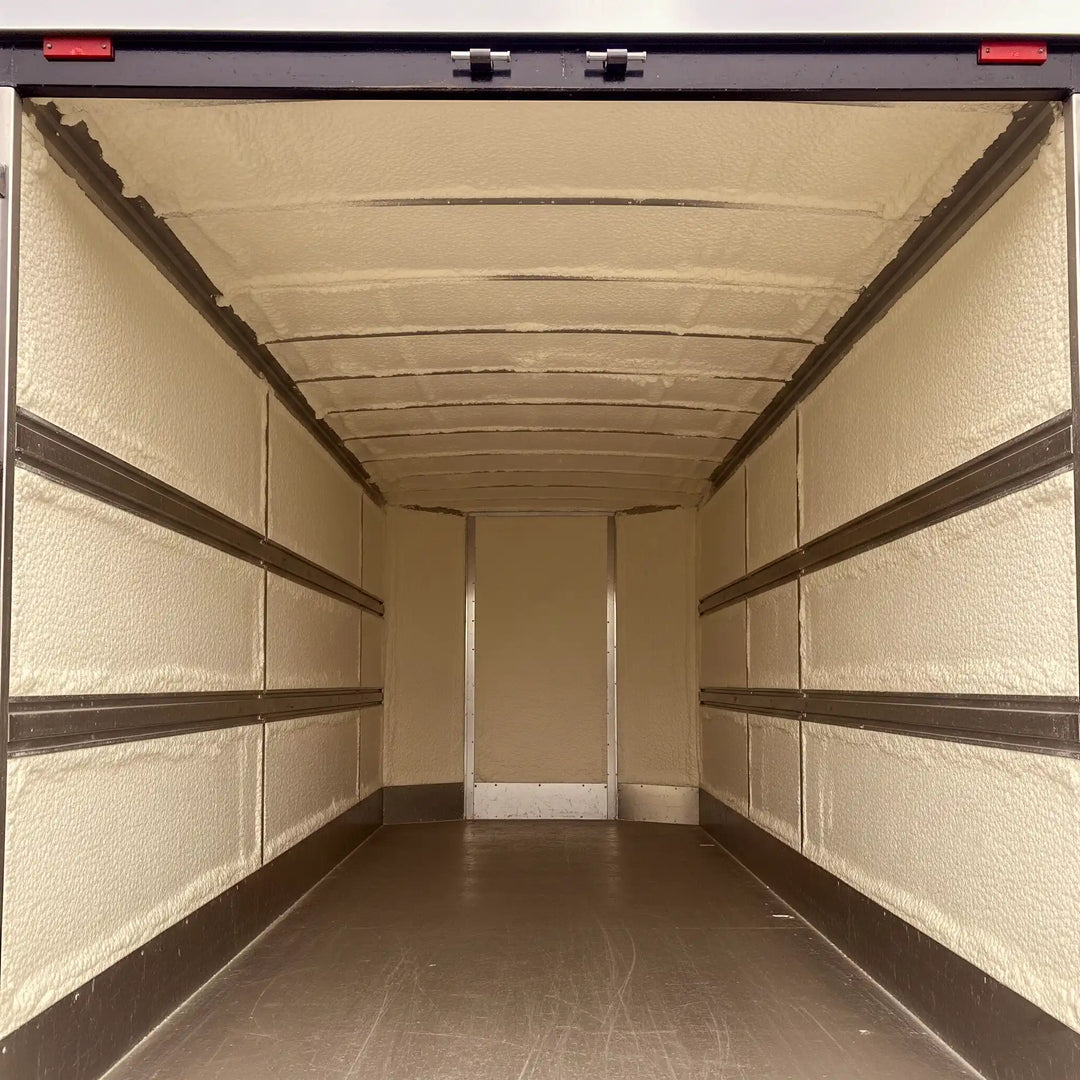
✅ Wide Application Range: Ideal for walls, ceilings, attics, garages, HVAC systems, and vehicles.
FastCoat Calculator
| Length (ft) | Height (ft) | Thickness (inch) |
|---|---|---|
| Area (sq.ft.) = | ||
| Required Cans = | ||
| R-value = | ||
Note:We recommend adding a 10% buffer to account for spray thickness variations.
* Each can covers up to 20 board feet with an R-value of 5.66 at 1-inch thickness.