How to Caulk a Shower or a Bathtub?
Want to learn how to caulk a shower or bathtub like a pro? Caulking is often seen as a simple DIY project, but delivering a neat job can be challenging. Shower/Bathtub caulking goes beyond knowing how to replace a caulk in the shower, it needs a professional touch!

Learning how to caulk a bathtub or a shower offers more than just an aesthetic touch to your bathroom. It makes your bathroom look pristine and neat! Shower caulking or bathtub caulking is essential to prevent water damage caused by moisture seeping through your wall. A properly caulked bathtub or shower creates a moisture barrier that prevents mold or mildew.
In this guide, we will discuss professional caulking tips and tricks, common mistakes to avoid when caulking, and the cost of DIY shower caulking. These tips and tricks are essential for all types of caulk jobs, such as bathtub caulking, tile caulking, window caulking, etc
How to Caulk a Shower or a Bathtub Like a Pro? Step-By-Step Guide
Caulking a shower or bathtub is the same process. The first thing you want to do before you begin a caulking job is to wear disposable gloves. Here is an easy step-by-step guide on how to caulk a shower or a bathtub:

Step 1: Prepare The Shower / Bathtub
Gather the necessary equipment for the job. Some of the tools needed to caulk a shower or bathtub are a caulk gun, utility knife, paper towels or clean cloth, smoother, and cleaning solvent or alcohol. The first thing you should do before you begin your caulking job is to keep your bathtub or shower clean using a clean towel.
Step 2: Remove Old Caulk
It is possible to caulk over an existing but removing old caulk produces an excellent result. To remove an old caulk, use a utility knife or a caulk removal tool to scrape it off thoroughly.

Step 3: Clean The Surface
After removing the caulk, use a cloth dipped in soapy water to clean the area. Then, wait for the area to dry off completely.

Step 4: Apply The New Caulk
Before you begin to apply the new caulk, load the caulk gun properly and cut the tip of the caulk tube. Cut close to the end of the tip for a small opening and a thin caulk bead. Then mask off the gap with painter’s tape to guide you as you apply the caulk. To do this, use long strips of tape on both sides of the hole to be caulked.
To apply the caulk, hold the caulk gun at an angle of 45 degrees. Then slowly squeeze the caulk gun to release the caulk while moving along the gap. It is important to apply the caulk in small sections.

Step 5: Smooth & Shape The Caulk
Clean off excess caulk with a cloth after application. Then use your finger or smoothing tool to smoothen the caulk. Wet your fingers with water when using it to smoothen the caulk. The next step is to remove the painter’s tape while the caulk is still wet. This step should be done while the caulk is still wet, so it is important to apply the caulk in small sections.
Step 6: Allow The Caulk to Dry
After applying the caulk, allow the caulk to dry for at least 24 hours. During the curing time, do not use the shower or touch the caulk.
What Are The Shower & Bathtub Caulking Tips & Tricks For Professional-Looking Results?
Learning how to caulk a bathtub is a relatively easy DIY process. However, many people end up making a mess of a caulk job. If you want to know how to caulk a shower like a pro, here are some helpful tips and tricks:

1. Choose The Right Caulk
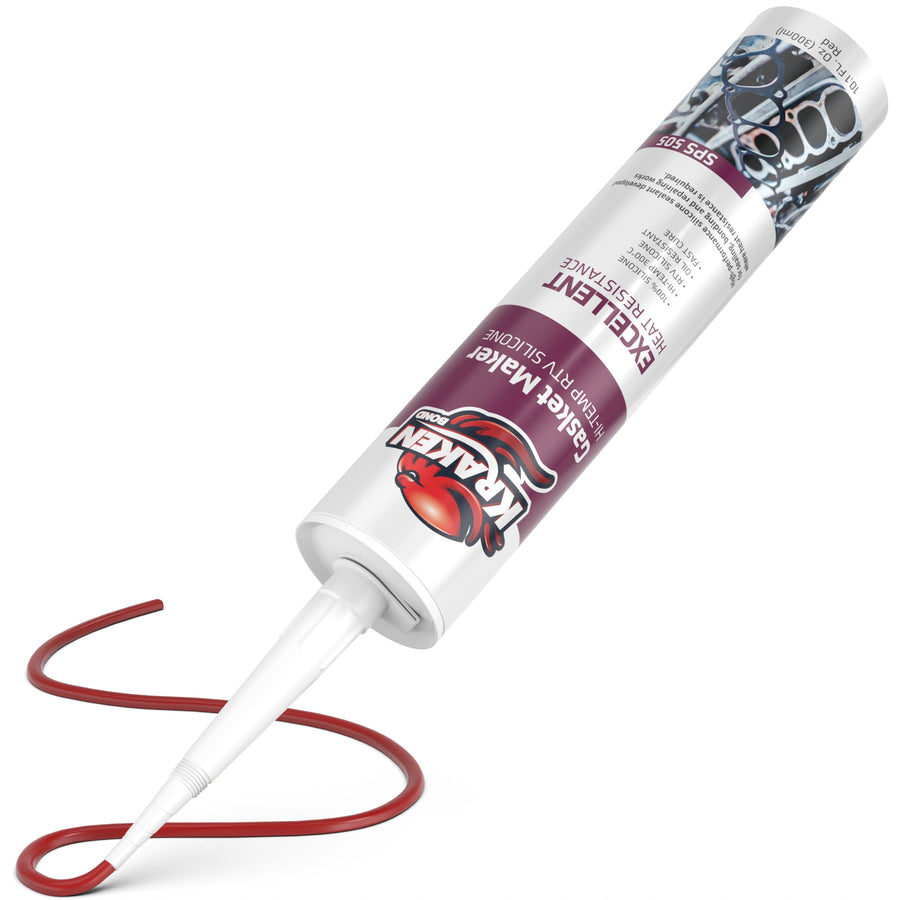
Silicone and acrylic latex caulk are designed for caulking areas with high moisture. This makes them suitable for caulking bathtubs and showers. Silicone caulk is more durable, and it offers resistance to mold or mildew. If you want to know how to caulk a shower door or stall, silicone caulk is ideal. Get this Hyper Silicone Caulk for your bathtubs and showers.
2. Familiarize Caulk Gun Before Starting
Learning how to use a caulk gun is the first step to caulking like a Pro. One of the most important aspects of learning how to caulk shower corners is getting familiar with a caulk gun. Caulk guns make the caulking job neat and easier.
3. Mask Off The Area
Delivering a neat caulk job is one of the differences between a Pro and a DIY enthusiast. Using painter's tape to mask off the application area helps you achieve a neat and precise finish.

4. Work In Sections
You do not have to apply caulk on the entire area before smoothing. Working in small sections allows you to maintain control and prevents the caulk from drying quickly.
5. Clean Up Excess Caulk
Smoothing and removing excess caulk are important to achieve a neat job. Clean up immediately after applying excess caulk on an area. This prevents the excess caulk from drying and also makes smoothing easy. In addition, it is important to apply light pressure when smoothing so you do not smear the caulk.
What Are The Common Shower / Bathtub Caulking Mistakes?
Caulking is a straightforward job. Although, learning how to caulk a tile shower can be difficult. When caulking difficult-to-reach places, there are bound to be mistakes that can make the job look messy. There are 3 common shower/bathtub caulking mistakes that should be avoided:

1. Applying Too Much Caulk
Applying too much caulk is a common mistake that causes a messy finish. Always apply a thin bead of caulk. To avoid applying too much caulk, cut the tip of the caulk tub to be smaller than the gap you want to fill. If the caulk bead is too small, cut it a little more. In addition, do not apply too much pressure when applying caulk.
2. Not Cleaning The Surface Properly
Neglecting the surface after application results in an untidy finish. Use your finger or smoothing tool to smoothen the caulk after application. In addition, always remove the painter's tape immediately after smoothing the caulk while it is still wet.
3. Rushing The Drying Time
Allow the caulk to dry for at least 24 hours before rushing to use the shower or bathtub. It is important not to rush the drying time so the caulk can adhere properly.
How Much Does It Cost to Re-Caulk A Shower?
The cost to recaulk a shower is between $100 to $300, depending on the size of the area to be caulked. Hiring professionals costs above $50 - $100 per hour, while some will charge based on the size and complexity of the job. Nevertheless, learning how to recaulk a shower as a DIY process saves a lot more than hiring a contractor. A DIY shower caulking job would cost less than $100.
How Long Does It Take to Caulk A Shower?
The time duration it takes to caulk a shower depends on several factors. The size of the shower, the amount of existing caulk, caulking experience, etc, are 3 major factors that can determine the time spent on caulking a shower.
Generally, a well-experienced person can spend 30 mins to 1 hour on a caulk job. As a beginner, learning how to apply caulk to shower for the first time can take at least 1 hour to 2 hours.
How Long Does Caulk Need to Dry In A Shower?
The drying time for caulk is between 30 mins to 1 hour, depending on the product. The curing time depends on humidity levels, temperature, and thickness of the caulk applied. However, allowing the caulk to cure for 24 hours is important for longevity and proper adhesion.
During drying or curing, the caulk should not be touched or come in contact time. This is important to avoid smearing the caulk and allow it to attain maximum strength.
Conclusion
Caulking is an essential aspect of home improvement. Caulking prevents damage and mold growth by sealing holes and gaps around showers, bathtubs, pipes, etc. Caulking helps to prevent your wall from getting soaked.
Learning how to caulk a shower is a simple DIY process. Anyone can do it with the right tools and equipment. However, there are tips and tricks that can make your caulk job look extremely neat. To know how to silicone a shower like a pro, it is important to use the right caulk, get familiar with a caulk gun, and work in small sections. In addition, you can deliver an excellent finish by using painter’s tape to guide the caulk bead and also smoothing the caulk after application.
When caulking, there are 3 common mistakes to avoid. These mistakes include applying too much caulk, not cleaning the surface properly, and not allowing the caulk to cure. Get the perfect caulk for sealing holes in your bathroom from this collection of caulks from Krakenbond.
FAQs:
Can I Caulk A Shower Without Removing The Old Caulk?
Applying caulk on a shower without removing the old caulk is not advisable. It causes the new caulk not to adhere properly or form a watertight seal.
How Often Should I Re-Caulk My Shower?
Recaulking your shower should be done at least every 5 years. Replacing your caulk regularly helps to prevent moisture buildup and maintain its effectiveness.
Is Silicone Caulk Better For Showers?
Silicone caulks are the ideal caulk for showers. Silicone caulk is highly durable and creates a waterproof seal to prevent moisture.
Can I Use Silicone Caulk For A Shower Door?
Yes, you can use silicone caulk on a shower door. Silicone caulk is waterproof and protects the shower door from water damage and leaks.
What Should I Do If I Notice Mold Behind The Caulk In My Shower?
Mold on caulk is an unpleasant sight, and it is unhealthy. Therefore, it is important to replace the caulk immediately.
Can I Use Colored Caulk For My Shower?
The standard color for shower caulks is usually clear white. However, shower caulks come in a variety of colors. That said, you can use colored caulk that matches your preferred color scheme.
Author : Krakenbond Team


Leave a comment