How to Caulk a Kitchen Sink? A Step-by-Step Guide
Every homeowner should be equipped on how to caulk sink effectively. It is an important home maintenance skill that offers many benefits. The process of caulking sinks involves sealing the gap between your kitchen sink and countertop or wall. Sealing these gaps prevents water leaks and makes your kitchen look neat.
The protection of your plumbing fixtures is another significant benefit of learning how to caulk sink. As a homeowner, caulking sinks as a DIY project will save the cost of hiring a contractor.
In this post, you will learn how to caulk a sink from start to finish. In addition, you will get answers to FAQ regarding how to caulk sink. Let us dive straight into business!
Materials You'll Need
The first step is to get the materials needed ready. The materials needed for kitchen sink caulking include;
- Caulk
- Caulk gun
- Painter’s Tape
- Putty knife
- Towel or clean cloth
- Rubbing alcohol, bleach, or vinegar.
Remove Any Old Caulk
Be sure to remove any old caulk before you apply a new caulk or recaulk kitchen sink. Use a knife to remove the old caulk by scrapping it off gently.
Little residue of old caulk might remain after using the knife. To remove any caulk residue remaining, clean the area with a towel soaked in rubbing alcohol.
Clear The Area & Sink
Before you caulk sink, clear the area you want to apply the new caulk. Remove dirt or grease in the kitchen sink. In addition, allow the area to dry completely before applying new caulk.
Apply Painter's Tape
Painter’s tape is used as a guide to get a smooth and clean caulk job. Apply the tape on either side of the area to be caulked, leaving a small gap. The tape should cover the caulk line, catching any excess caulk and producing a smooth finish.
Choose The Right Caulk
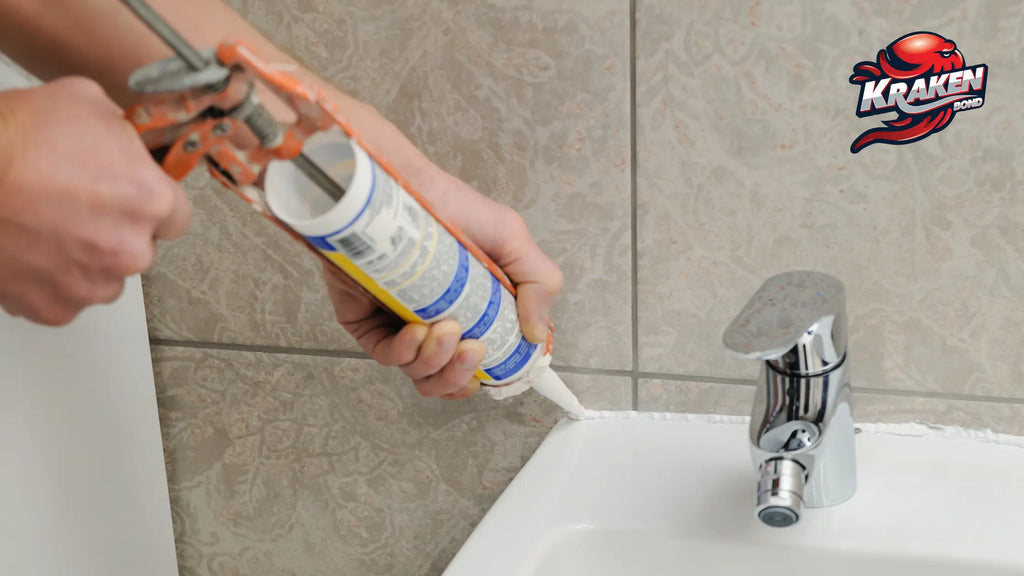
Using the right product to caulk sink is essential to get your desired result. Silicone caulks are ideal because they possess excellent resistance to water, are flexible, and can withstand extreme temperature changes.
However, you can use a caulk that matches the color of your countertop. Use a rubber-based sealant for caulking an acrylic surface.
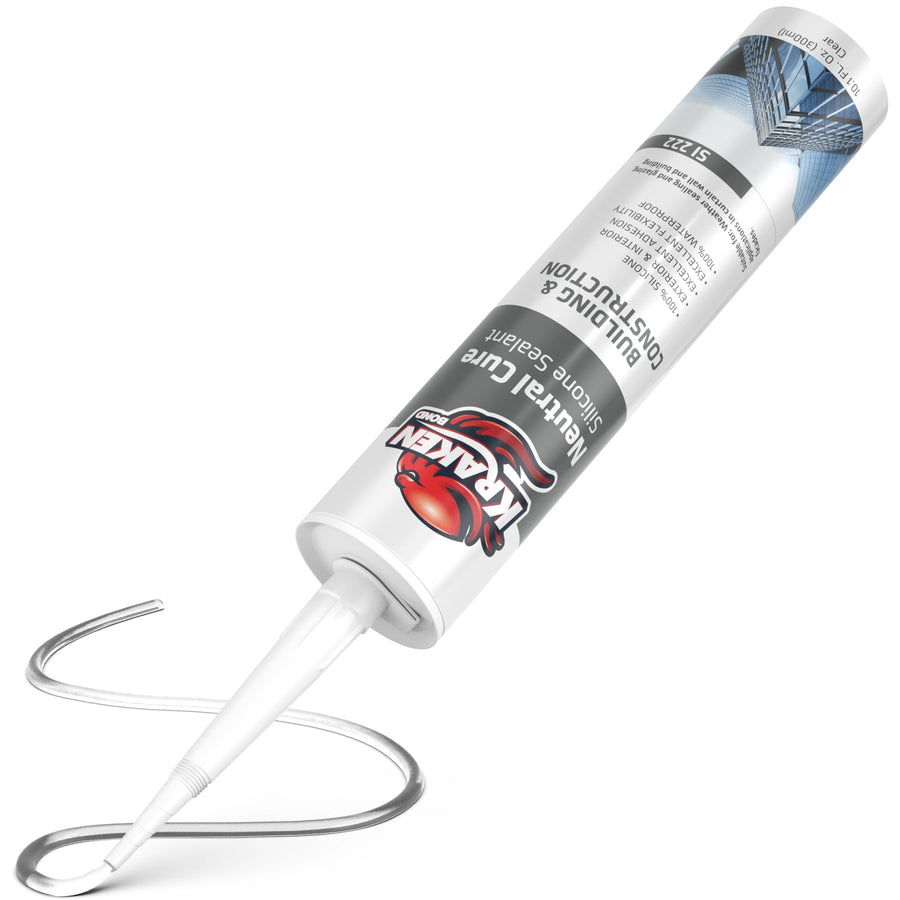
Get the best silicone caulk for kitchen sink from this collection of quality caulk. This Hyper Silicone sealant is a non-corrosive, 100% silicone with excellent resistance to mold growth.
Cut The Caulk Tube
Use the utility knife to cut the caulk tube at an angle of 45 degrees. Ensure you cut the tube close to the tip to create a small opening. This helps to control the flow and avoid overspilling the caulk during application.
Load The Caulk Gun
Caulk guns make the caulking process easier and faster. Now, you have to Load the caulk tube in the caulk gun. Here is how to use a caulk gun for beginners.
Push the plunger rod to the back and place the caulk tube in it to load the caulk gun. After placing the tube in the caulk gun, move the plunger forward to touch the bottom of the tube.
Prime the caulk tube to remove air bubbles by squeezing the trigger till the caulk moves to the tip of the tube.
Apply The Caulk
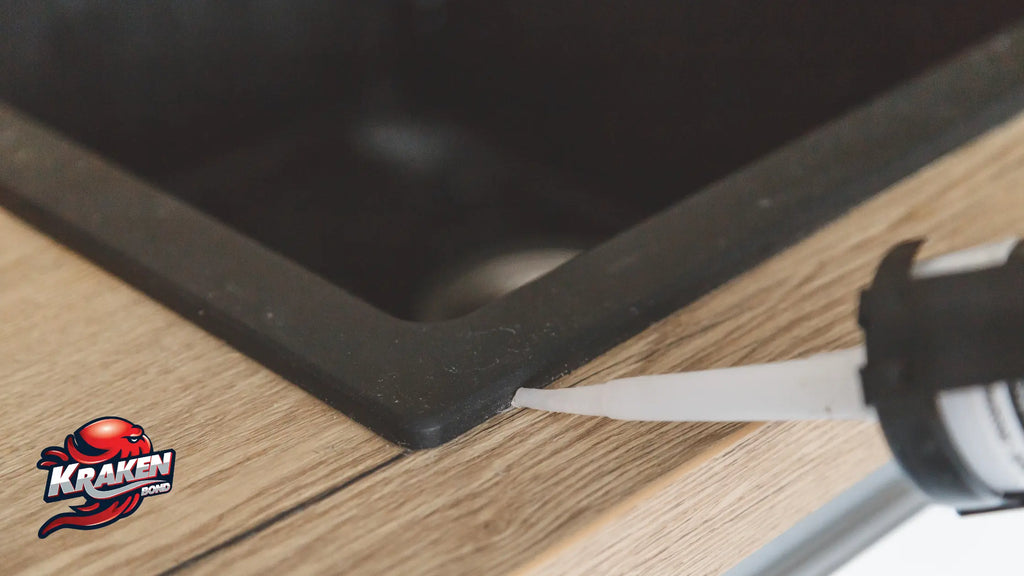
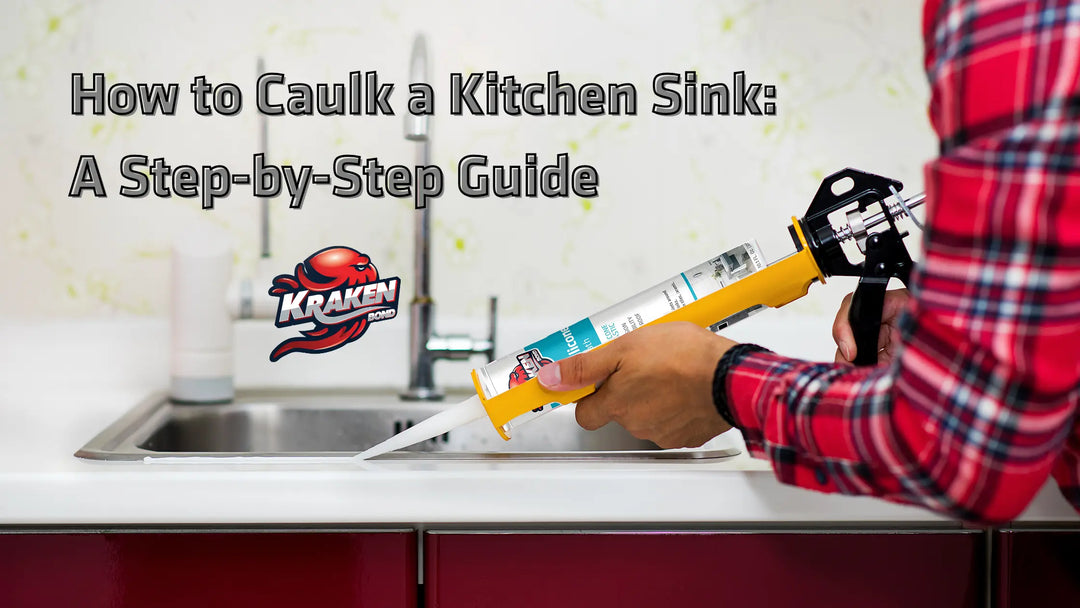
Place the caulk gun at a 45-degree angle against the area to be caulked. Then, squeeze the trigger gently to release the caulk.
Apply the caulk from one end of the gap to the other. While filling the gap with the caulk, move at a steady pace and apply a consistent amount of pressure on the trigger.
Smooth The Caulk
After applying the caulk, clean up excess caulk by smoothing the caulk. This should done while the caulk is still wet. Wet your index finger with rubbing alcohol or water and run it through the gap you just caulked. Apply enough pressure to get a smooth finish, but avoid smearing the caulk.
Remove Painter's Tape
Remove the painter’s tape gently. It is vital to remove the tape while the caulk is still wet. Remove the tape gently and make sure it does not go off along with the caulk.
Clean Up
Clean up the place with a warm, damp cloth. This includes excess caulk lying around on the countertop or wall. Excess caulk can be difficult to clean when it is dried up. To avoid extra work, do it as soon as possible.
Let It Cure
Allow the caulk to cure according to the time frame in the instruction manual. Do not use the kitchen sink while waiting for the caulk to dry.
FAQ About Caulking Kitchen Sink
What Caulk Do You Use For Sinks?
Silicone-based caulk is the best sealant for caulk sinks. The silicone caulks resist shrinking, mold growth, and temperature changes. The silicone caulks adhere properly to a wide range of materials, making it a suitable product to caulk sink on tiles.
How Long Does Sink Caulking Last?
Kitchen sink sealant can last up to 5 years when maintained properly. A properly installed caulk job will prevent mold growth in your kitchen sink.
How Often Should You Recaulk A Sink?
Recaulk your sink at least every 5 years. Caulking your kitchen sink regularly is an important home maintenance routine.
Can I Use Any Type Of Caulk For My Kitchen Sink?
Not all types of caulk are suitable for kitchen sink caulking. To caulk sink effectively, you must use a waterproof, durable, and flexible sealant. Silicone-based caulks are suitable for metal sinks, while acrylic latex caulks are a good fit for porcelain sinks.
Do I Need To Remove Old Caulk Before Applying New Caulk?
Removing the old caulk completely before applying a new one is vital. This makes the new caulk adhere easily and last longer.
Can I Use Colored Caulk For My Kitchen Sink?
Use a caulk that matches your kitchen sink's design to make the caulk job look visually appealing.
Can I Use Caulk For Sink Drain?
Yes. Caulking is an effective way to seal sink drains. Caulking sink drains prevents water leaks through the kitchen sink.
Conclusion
Caulking is a necessary home improvement skill for every homeowner. When you caulk sink, you eliminate water leaks and mold growth. In addition, caulking adds aesthetics to your kitchen sink.
Little projects, such as kitchen sink caulking, can be done without hiring a professional if you have the right materials. As often as you practice, you will eventually get better at it.
Author: Krakenbond Team





Leave a comment